If you’re craving a delightfully rich treat that perfectly captures the festive spirit, look no further than the Christmas Dark Chocolate Fudge: 7 Ways to Indulge Joyfully Recipe. This luscious fudge combines the deep, bittersweet intensity of dark chocolate with creamy sweetness and just a hint of vanilla, making it the ultimate holiday indulgence that’s simple to prepare but impossible to resist. Whether you’re gifting it to friends or enjoying it with family, this fudge delivers a comforting, melt-in-your-mouth experience that’s sure to become a seasonal favorite.
Ingredients You’ll Need
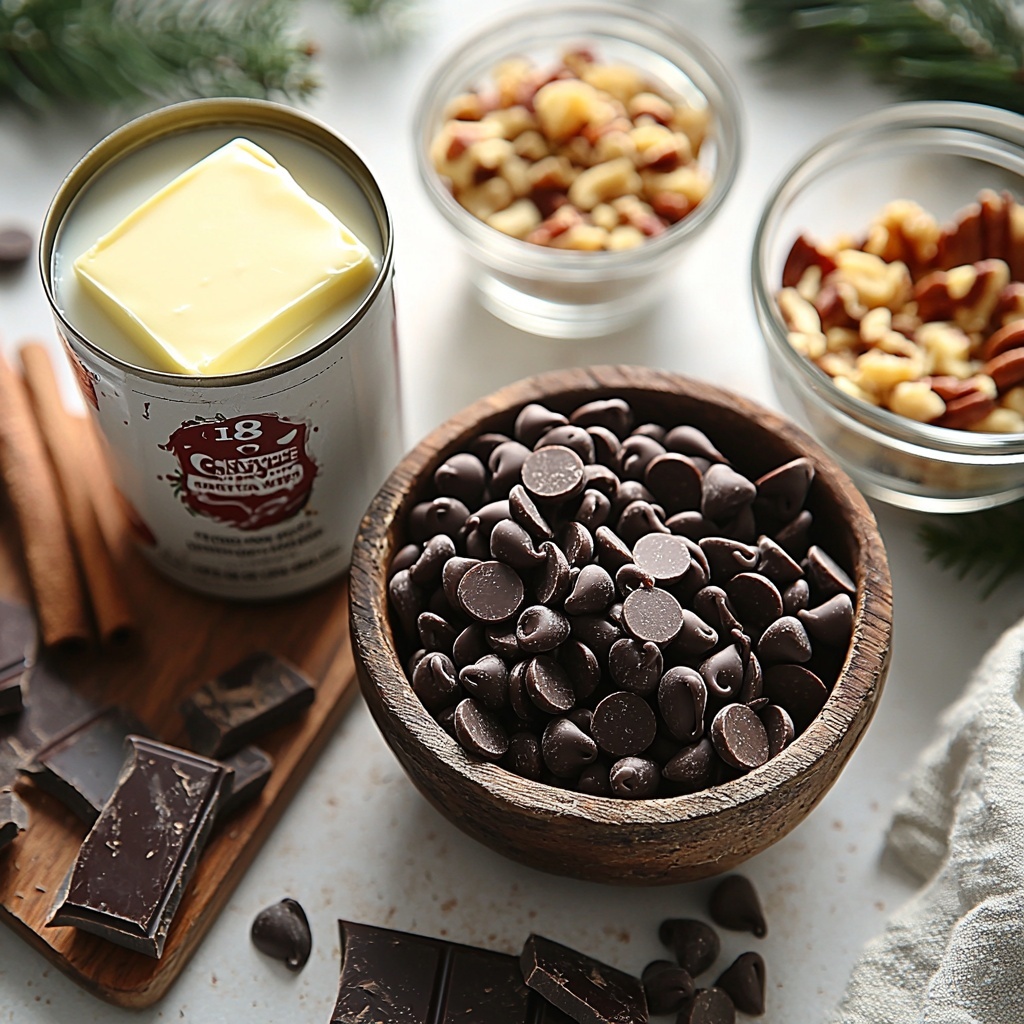
This recipe comes together beautifully with just a few essential ingredients, each playing a crucial role in the fudge’s texture and flavor. The balance between rich dark chocolate, creamy condensed milk, and smooth butter creates a perfectly indulgent base, while vanilla enhances the aroma and chopped nuts add a welcome crunch for those who love a bit of texture.
- 2 cups dark chocolate chips: The star ingredient, providing bold flavor and velvety smoothness.
- 1 can (14 oz) sweetened condensed milk: Adds creamy sweetness and helps bind the fudge.
- 1/4 cup unsalted butter: Contributes richness and a luscious mouthfeel.
- 1 teaspoon vanilla extract: Enhances the chocolate’s aroma with a warm, inviting note.
- 1/2 cup chopped nuts (optional): Adds texture and a nutty contrast to the smooth fudge.
How to Make Christmas Dark Chocolate Fudge: 7 Ways to Indulge Joyfully Recipe
Step 1: Prepare Your Pan
Start by lining an 8×8 inch baking dish with parchment paper. This simple step ensures your fudge releases easily once it’s set, saving you from any messy clean-up or broken squares when cutting.
Step 2: Combine the Key Ingredients
In a medium saucepan over medium heat, combine the dark chocolate chips, sweetened condensed milk, and unsalted butter. Stir constantly to ensure even melting and prevent burning. This warming process blends your ingredients into a silky, cohesive mixture that forms the fudge’s base.
Step 3: Stir Until Smooth
Keep stirring the mixture carefully until everything has melted together into a glossy, smooth texture. This is the moment when your fudge base reaches perfection—no lumps, no graininess, just creamy chocolate goodness.
Step 4: Flavor and Optional Crunch
Remove the pan from heat and stir in the vanilla extract to infuse a warm, fragrant note. If you’re adding chopped nuts, gently fold them in now to distribute them evenly without breaking the fudge’s silky texture.
Step 5: Pour and Spread
Pour the mixture into your prepared baking dish, using a spatula to spread it out evenly. This step ensures your fudge sets uniformly, making for perfect squares when you’re ready to cut.
Step 6: Chill Until Set
Refrigerate the fudge for at least 2 hours. Patience here pays off as chilling allows the fudge to firm up to that ideal, slightly soft but holdable consistency that’s signature to great fudge.
Step 7: Cut and Enjoy
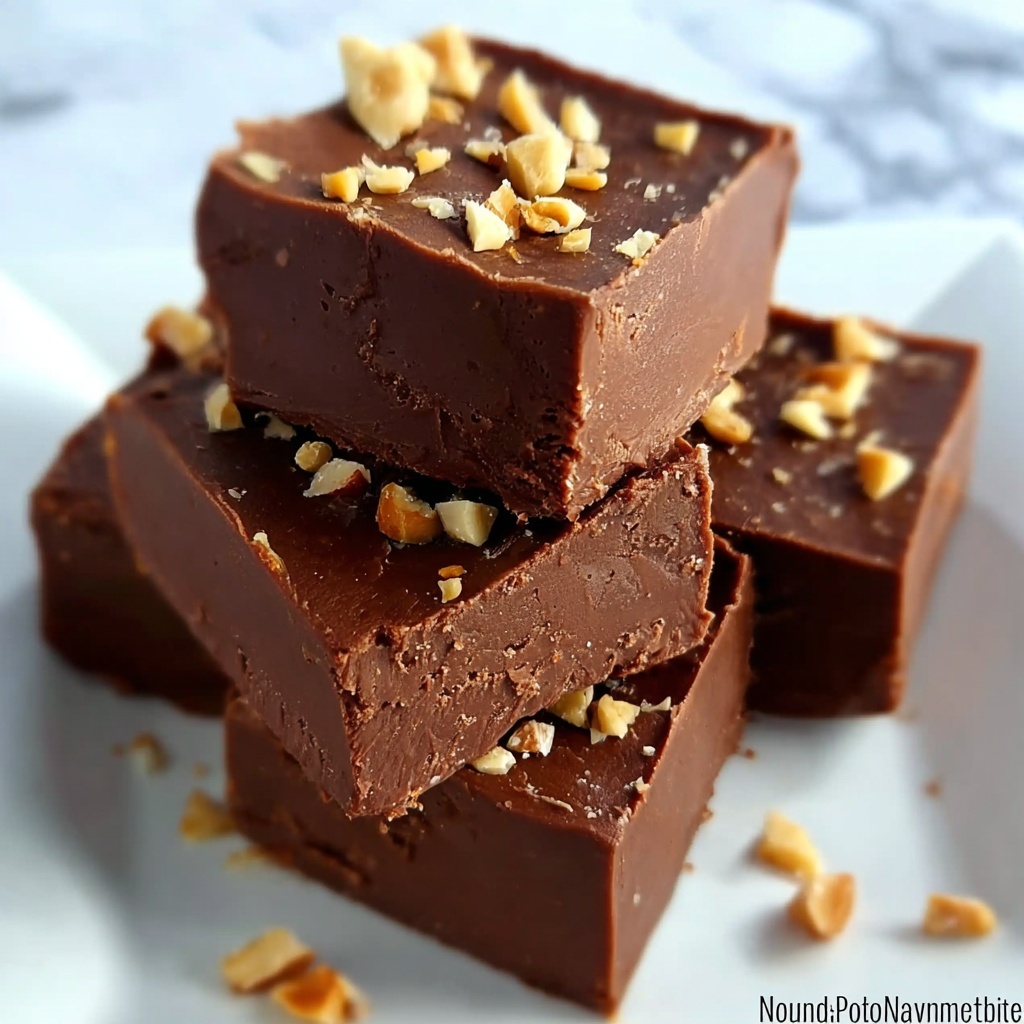
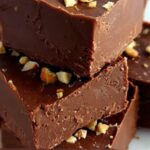
Once your fudge has fully set, lift it out of the dish using the parchment paper. Cut it into 16 generous squares and get ready to indulge joyfully, sharing this decadent treat with loved ones or savoring it yourself in little moments of holiday bliss.
How to Serve Christmas Dark Chocolate Fudge: 7 Ways to Indulge Joyfully Recipe
Garnishes
Sprinkle your fudge with a touch of festive magic—think crushed peppermint for a refreshing twist, a dusting of sea salt to highlight the chocolate’s depth, or a handful of festive nonpareils for added color and crunch. These garnishes make each bite a sensory delight and add beautiful visual appeal.
Side Dishes
Pairing your fudge with other holiday treats enhances the experience. Offer alongside a cozy cup of spiced hot chocolate or a bold espresso to complement the fudge’s richness. Fresh berries or candied orange peel can also brighten the palate and provide a refreshing contrast.
Creative Ways to Present
Presentation makes the indulgence even more special. Pack your fudge squares in a decorative tin layered with parchment paper for delightful gifting. Alternatively, serve on a festive platter accented with holly leaves or cinnamon sticks. Wrapping individual squares in wax paper tied with a ribbon adds a charming touch that friends and family will adore.
Make Ahead and Storage
Storing Leftovers
Proper storage is key to keeping your fudge fresh and flavorful. Store leftovers in an airtight container in the refrigerator for up to 3-4 days. This helps maintain its smooth texture and prevents it from absorbing any fridge odors.
Freezing
If you want to savor this delicious treat longer, the fudge freezes beautifully. Wrap individual pieces tightly in plastic wrap, then place in an airtight container or freezer bag. Frozen fudge can keep for up to 2 months—just thaw in the refrigerator before enjoying.
Reheating
Fudge is best enjoyed chilled or at room temperature, but if you prefer it slightly softer, let it sit at room temperature for 10-15 minutes before serving. Avoid microwaving, as heat can alter the texture and cause it to lose that perfect fudge consistency.
FAQs
Can I use milk chocolate instead of dark chocolate chips?
Absolutely! Using milk chocolate will result in a sweeter, creamier fudge with a softer chocolate flavor. Just keep in mind it will be less intense than the dark chocolate variety, but still delicious.
Do I have to add nuts?
Nope! Nuts are entirely optional and can be omitted if you prefer a smooth, nut-free fudge or if anyone has allergies. You can also experiment with different mix-ins like dried fruit or crushed candy canes.
How do I get clean square cuts in fudge?
For neat squares, use a sharp knife warmed in hot water and wiped dry before each cut. This softens the fudge slightly, helping you slice through without cracking or sticking.
What’s the best way to prevent fudge from becoming grainy?
Constant stirring over moderate heat while melting the chocolate, butter, and condensed milk ensures smoothness. Avoid overheating and do not rush the melting process to keep the fudge silky without graininess.
Can I make the fudge ahead for holiday parties?
Definitely! This fudge can be made up to 2 days in advance and refrigerated until party time. Just cut it right before serving for the freshest presentation and texture.
Final Thoughts
I genuinely hope you give the Christmas Dark Chocolate Fudge: 7 Ways to Indulge Joyfully Recipe a try this season. It’s one of those soulful treats that brings warmth, joy, and a hint of festive magic with every bite. Whether you share it with friends or savor it quietly by yourself, this fudge is sure to add a little extra sweetness to your holiday celebrations. Happy indulging!
Print
Christmas Dark Chocolate Fudge: 7 Ways to Indulge Joyfully Recipe
- Prep Time: 10 minutes
- Cook Time: 10 minutes
- Total Time: 2 hours 20 minutes
- Yield: 16 servings
- Category: Dessert
- Method: Stovetop
- Cuisine: American
Description
This rich and creamy Christmas Dark Chocolate Fudge recipe offers a delightful way to indulge your sweet tooth during the holiday season. Made with dark chocolate chips, sweetened condensed milk, and butter, this no-bake fudge is easy to make and can be customized with chopped nuts for added texture and flavor. Perfect for gifting or enjoying at home, the fudge sets in the refrigerator and delivers a smooth, decadent treat.
Ingredients
Fudge Ingredients
- 2 cups dark chocolate chips
- 1 can (14 oz) sweetened condensed milk
- 1/4 cup unsalted butter
- 1 teaspoon vanilla extract
- 1/2 cup chopped nuts (optional)
Instructions
- Prepare the dish: Line an 8×8 inch baking dish with parchment paper to prevent sticking and make it easy to lift out the fudge once set.
- Combine ingredients: In a saucepan, combine the dark chocolate chips, sweetened condensed milk, and unsalted butter to start melting the base of the fudge.
- Melt mixture: Cook the mixture over medium heat, stirring constantly to ensure the chocolate melts evenly and the mixture becomes smooth without burning.
- Add flavorings: Remove the saucepan from heat and stir in the vanilla extract. If using, add the chopped nuts now and mix thoroughly for even distribution.
- Pour into dish: Pour the smooth fudge mixture into the prepared baking dish and spread it out evenly with a spatula or the back of a spoon.
- Chill: Refrigerate the fudge for at least 2 hours until it is fully set and firm to the touch.
- Serve: Once set, lift the fudge out using the parchment paper and cut it into squares. Serve and enjoy this decadent holiday treat.
Notes
- For a nut-free version, simply omit the chopped nuts.
- Use dark chocolate chips with at least 60% cocoa for an intense chocolate flavor.
- Store the fudge in an airtight container in the refrigerator for up to 2 weeks.
- You can add other mix-ins such as dried cranberries or candy cane pieces for a festive twist.
- If the fudge becomes too hard after refrigeration, let it sit at room temperature for a few minutes before serving.


