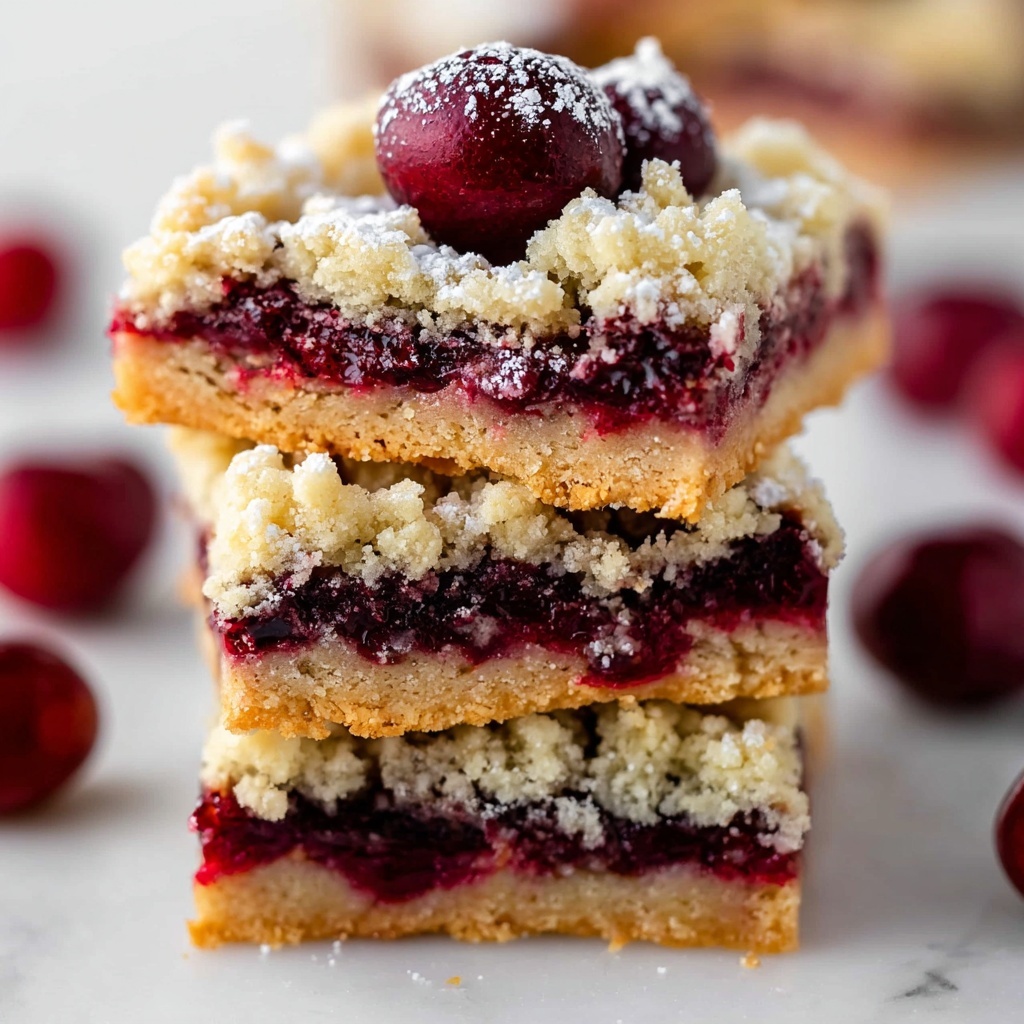
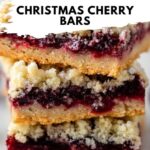
If you’re dreaming of a festive treat full of sweet, tangy cherries and buttery goodness, then this Christmas Cherry Bars Recipe is exactly what you need. Bursting with juicy cherry pie filling sandwiched between layers of tender, golden cake, these bars are a holiday favorite that bring warmth and joy to any gathering. They’re simple to make yet seriously impressive, delivering a slice of Christmas magic with every bite.
Ingredients You’ll Need
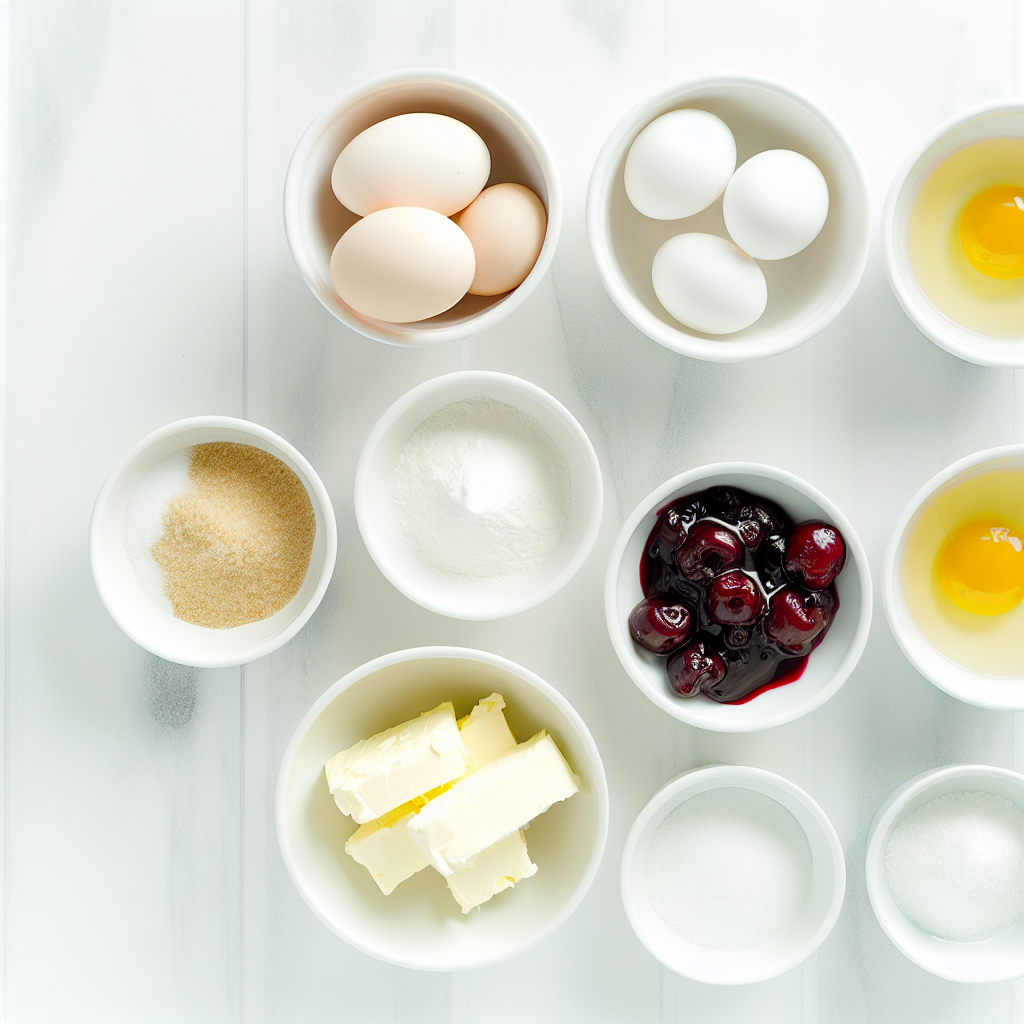
These ingredients are straightforward but come together beautifully to create a perfect balance of flavor and texture. Each element adds its own charm, from the rich butter providing moistness to the cherry pie filling adding a burst of festive color and sweetness.
- 1 cup butter (softened): Softened for easy mixing and to give your bars that rich, tender crumb.
- 2 cups sugar: Sweetens the batter perfectly without overpowering the cherries.
- 4 eggs: Adds structure and moisture, making the bars wonderfully cakey yet soft.
- 1 tsp vanilla extract: Enhances the overall flavor with a warm, comforting aroma.
- 3 cups all-purpose flour: Provides the sturdy base to hold the layers together just right.
- 1 tsp salt: Balances the sweetness and deepens the flavor profile.
- 1 can cherry pie filling (21 ounces): The star ingredient that adds festive color, juiciness, and classic Christmas cheer.
- 1 cup powdered sugar (for optional glaze): Creates a sweet, delicate glaze to finish off the bars beautifully.
- 2 tbsp milk (for optional glaze): Helps blend the glaze ingredients into a smooth drizzle.
- 1/2 tsp vanilla extract (for optional glaze): Gives the glaze a subtle, sweet depth of flavor.
How to Make Christmas Cherry Bars Recipe
Step 1: Prepare Your Oven and Pan
Start by preheating your oven to 350°F (175°C). Grease a 9×13-inch baking pan thoroughly to ensure your bars don’t stick and come out looking perfect.
Step 2: Cream Butter and Sugar
In a large bowl, cream together the softened butter and sugar until the mixture is light and fluffy. This step is crucial for a tender crumb. Then, beat in the eggs one at a time to keep the batter smooth, followed by blending in the vanilla extract for that warm aroma.
Step 3: Combine Dry Ingredients and Batter
Whisk the flour and salt together in a separate bowl. Gradually add this dry mix into the butter mixture, stirring gently until it’s fully incorporated. This keeps your batter light and ensures even baking.
Step 4: Layer Batter and Cherry Filling
Spread 3 cups of your batter evenly across the bottom of your prepared pan. Then, pour the cherry pie filling over this base layer, distributing it evenly. With the remaining batter, drop small clumps over the cherries, creating a lovely rustic look and delightful textural contrast.
Step 5: Bake to Golden Perfection
Bake your bars in the oven for 35 to 40 minutes until the top turns a gorgeous golden brown. You’ll know they’re done when a toothpick inserted in the center comes out clean — patience here really pays off!
Step 6: Cool Before Adding the Glaze
Once baked, transfer the pan to a wire rack and let your bars cool completely. This step is important so that the glaze doesn’t melt and keeps its pretty drizzle form.
Step 7: Prepare the Glaze
Mix the powdered sugar, milk, and vanilla extract in a bowl until smooth. The glaze should be pourable but not too runny. This sweet finishing touch adds just the right amount of extra flavor and shine.
Step 8: Glaze and Slice
Drizzle the glaze evenly over the cooled bars, let it set for a few minutes, then slice into squares and get ready to enjoy one of the best Christmas Cherry Bars Recipe creations you’ll ever taste!
How to Serve Christmas Cherry Bars Recipe
Garnishes
For a festive touch, sprinkle some shaved white chocolate or a few fresh cherries on top of the glaze. You could even dust with a little extra powdered sugar for that snow-kissed look. It’s these small details that make serving the bars feel extra special.
Side Dishes
Serve these cherry bars alongside a scoop of vanilla ice cream or a dollop of whipped cream. Both pair beautifully with the rich, fruity bars and make for a comforting winter dessert. If you’re after a beverage, a hot cup of coffee, spiced tea, or even mulled wine complements the flavors wonderfully.
Creative Ways to Present
Consider layering the bars in a clear glass trifle dish with whipped cream and fresh cherries for an eye-catching holiday dessert. You can also cut the bars into festive shapes using cookie cutters for a charming presentation at parties or as thoughtful edible gifts wrapped in festive paper.
Make Ahead and Storage
Storing Leftovers
Christmas Cherry Bars store beautifully in an airtight container at room temperature for up to 3 days. Keep them covered well to maintain their moist texture and prevent the cherry layer from drying out.
Freezing
If you want to make these bars ahead of time, they freeze wonderfully. Wrap individual squares in plastic wrap and place them in a freezer-safe container or bag. They’ll keep for up to 2 months, ready to thaw overnight in the fridge before serving.
Reheating
To enjoy your leftover bars warm, simply microwave for 15 to 20 seconds or heat gently in a low-temperature oven until just warmed through. This helps bring back that freshly-baked charm without drying them out.
FAQs
Can I use fresh cherries instead of canned pie filling?
While fresh cherries can be delicious, the canned cherry pie filling is sweetened and thickened perfectly for this recipe. If using fresh, you might want to add sugar and a thickener like cornstarch to mimic the filling’s texture and sweetness.
Is there a gluten-free version of the Christmas Cherry Bars Recipe?
Absolutely! Simply swap the all-purpose flour with a gluten-free baking blend of equal measure, and make sure your pie filling is gluten-free. This way, you keep all the festive flavors without the gluten concerns.
Can I skip the glaze?
Yes! The glaze adds sweetness and a lovely finish, but the bars taste fantastic on their own as well. If you want a lighter treat, feel free to leave it out or dust with powdered sugar instead.
How thick should the bottom batter layer be?
Spreading about 3 cups of batter evenly creates a sturdy base to hold the filling. It should form a thick enough layer to balance the sweet cherries without getting soggy.
Can I use a different fruit filling?
Definitely! Blueberry, raspberry, or apple pie fillings can be great substitutes that offer the same festive feel with exciting flavor twists.
Final Thoughts
I hope you feel inspired to whip up this Christmas Cherry Bars Recipe for your next holiday celebration. With its perfect blend of sweet cherries, buttery cake, and optional glaze, it’s a cozy, delicious dessert that’s sure to become a new seasonal favorite. Happy baking and even happier eating!
Print
Christmas Cherry Bars Recipe
- Prep Time: 15 minutes
- Cook Time: 40 minutes
- Total Time: 55 minutes
- Yield: 24 bars
- Category: Dessert
- Method: Baking
- Cuisine: American
Description
These Christmas Cherry Bars are a festive and delightful treat perfect for holiday gatherings. A buttery, tender crust layered with sweet cherry pie filling and topped with a light vanilla glaze creates a perfect balance of flavors and textures. Easy to make and sure to please, these bars bring a cheerful twist to your holiday dessert table.
Ingredients
For the Bars
- 1 cup butter, softened
- 2 cups sugar
- 4 eggs
- 1 tsp vanilla extract
- 3 cups all-purpose flour
- 1 tsp salt
- 1 can (21 ounces) cherry pie filling
For the Optional Glaze
- 1 cup powdered sugar
- 2 tbsp milk
- 1/2 tsp vanilla extract
Instructions
- Preheat Oven and Prepare Pan: Preheat your oven to 350°F (175°C). Grease a 9×13-inch baking pan well to prevent the bars from sticking.
- Cream Butter and Sugar: In a large bowl, cream together the softened butter and sugar until the mixture is light and fluffy. This creates a smooth base and helps incorporate air for a tender texture. Beat in the eggs one at a time, ensuring each is fully incorporated before adding the next. Blend in the vanilla extract for added flavor.
- Combine Dry Ingredients: In a separate bowl, whisk together the flour and salt. Gradually add this flour mixture to the butter mixture, stirring until everything is fully incorporated into a thick batter.
- Assemble Bars: Spread about 3 cups of the batter evenly across the bottom of the prepared baking pan to form a base layer. Carefully spoon the cherry pie filling evenly over the batter. Drop small clumps of the remaining batter over the cherry layer, creating a marbled effect.
- Bake the Bars: Bake in the preheated oven for 35 to 40 minutes, until the top is golden brown. To check for doneness, insert a toothpick into the center – it should come out clean or with just a few moist crumbs attached.
- Cool Completely: Remove the bars from the oven and allow them to cool completely on a wire rack. This cooling step is crucial for the bars to set properly before glazing.
- Prepare and Add Glaze: In a small bowl, combine the powdered sugar, milk, and vanilla extract to make a smooth glaze. Drizzle this glaze evenly over the cooled bars for a sweet finishing touch.
- Set and Serve: Let the glaze set and firm up for a few minutes. Then slice into 24 bars and enjoy these festive treats!
Notes
- For a thicker cherry layer, feel free to add more cherry pie filling to taste.
- The glaze is optional but adds a lovely sweetness and visual appeal to the bars.
- Store any leftovers in an airtight container at room temperature for up to 3 days or refrigerate for up to a week.
- To make the bars easier to cut, chill them briefly before slicing after glazing.