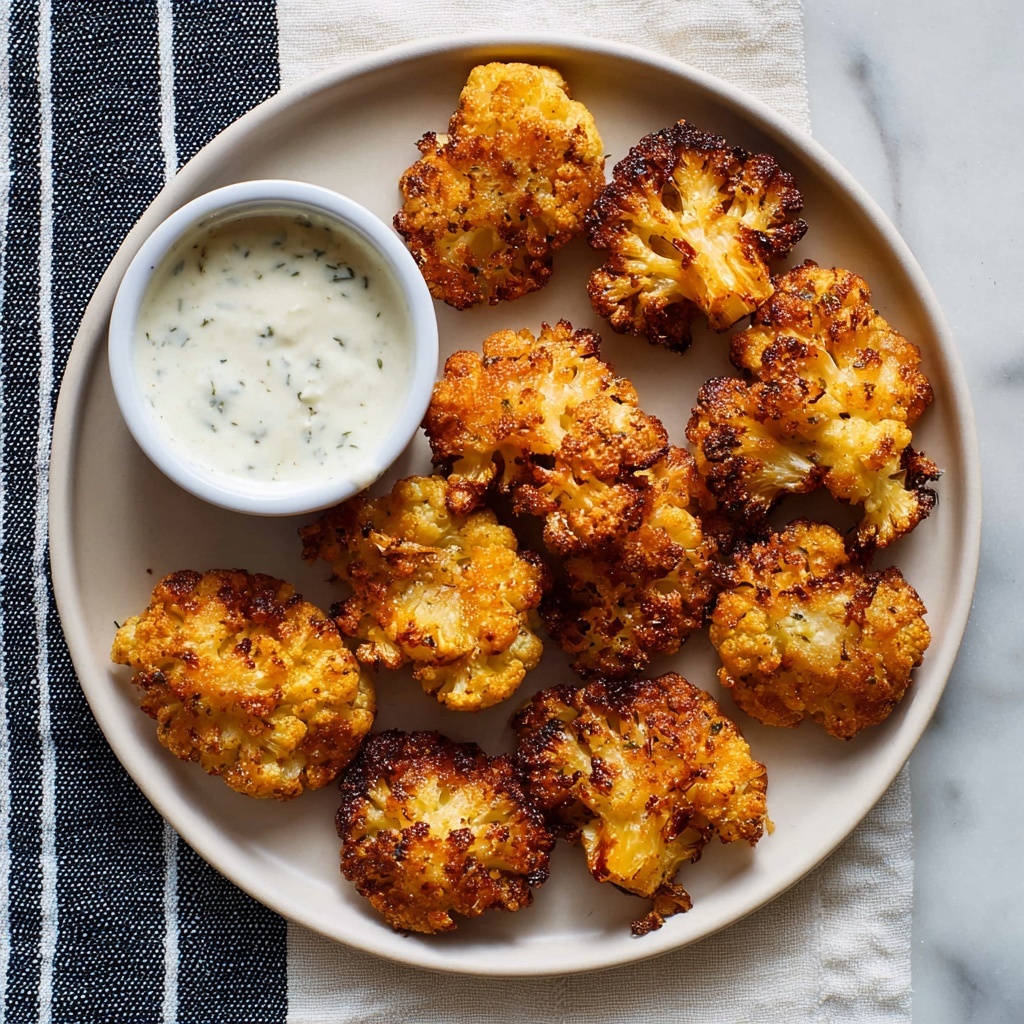
If you adore crispy, golden-fried appetizers that make you want to dive in immediately, this Baby Bloomin’ Onions Recipe will become your new kitchen obsession. Imagine petite cipollini onions, perfectly sliced to fan out like delicate petals, coated with a flavorful seasoned crust, and fried to crunchy perfection—trust me, every bite bursts with irresistible flavor and texture. This dish is not only a feast for the taste buds but also an absolute showstopper on your table, guaranteed to impress friends and family alike.
Ingredients You’ll Need
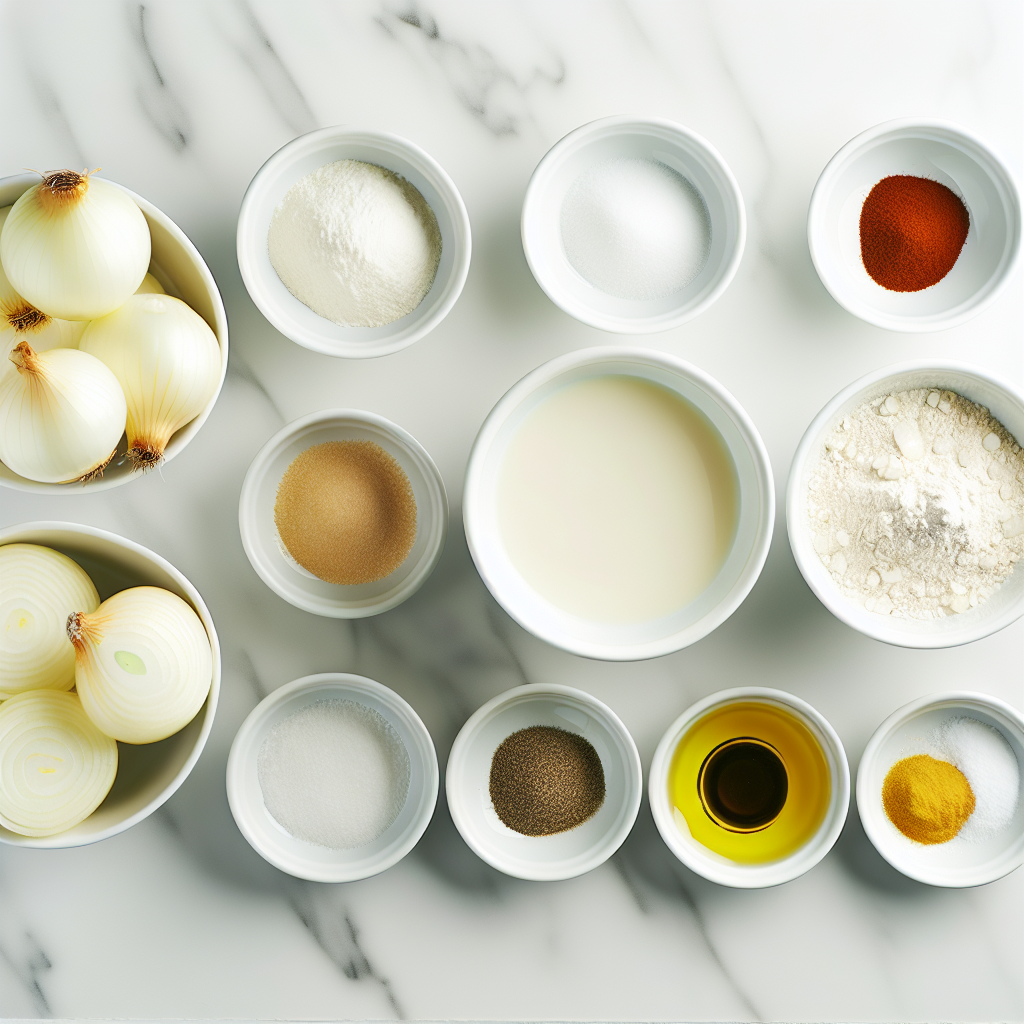
These simple but essential ingredients come together to create the perfect balance of flavor, crunch, and a little bit of spice that makes this dish unforgettable. Each item plays a crucial role, from the hearty cipollini onions providing that sweet, tender center, to the smoked paprika that delivers a gentle smoky kick.
- 16 cipollini onions: Small and sweet, these onions bloom beautifully when sliced and fried.
- 1 cup buttermilk: Adds moisture and tang while helping the coating stick well.
- 1 cup all-purpose flour: The base for a crispy, golden coating.
- 1 teaspoon garlic powder: Brings savory depth and subtle pungency.
- 1 teaspoon onion powder: Enhances the onion flavor without overpowering.
- 1 teaspoon smoked paprika: Gives a subtly smoky, warm note to the crust.
- 1 teaspoon salt: Essential for seasoning both inside and out.
- ½ teaspoon dry mustard: Adds a slight tangy sharpness for complexity.
- ½ teaspoon black pepper: For just the right touch of mild heat.
- Peanut or vegetable oil for frying: These oils can handle the high temperature for perfect crisping.
How to Make Baby Bloomin’ Onions Recipe
Step 1: Prep the Oil for Frying
Pour about two and a half inches of your chosen oil into a tall pot and heat it to 350 degrees Fahrenheit. Maintaining this temperature is key to achieving a perfectly crisp and golden exterior without absorbing excess oil.
Step 2: Prepare the Onions
Begin by cutting off a tiny sliver—around one-eighth of an inch—from the pointed stem end of each cipollini onion. Then, peel carefully, being mindful not to tear through the layers prematurely. This keeps the structure intact, which is vital to getting that beautiful bloomed effect.
Step 3: Slice the Onions for Blooming
Place each onion cut-side up, then skillfully make a cross-cut from the top all the way down, leaving the root end intact so the onion holds together. Continue cutting to create 12 evenly spaced petals for that signature blooming appearance. Patience here results in a perfect flower.
Step 4: Separate the Onion Layers
Flip each onion over and gently use your fingers to pry apart the outer layers slightly. This encourages an open bloom during frying and ensures every petal crisps up beautifully.
Step 5: Prepare the Buttermilk Bath
Pour the buttermilk into a small bowl and set it close by. This will help the flour mixture cling and add a subtle tang to the coating.
Step 6: Mix the Flour and Spices
Combine the flour, garlic powder, onion powder, smoked paprika, salt, dry mustard, and black pepper in a separate bowl. Give it a good toss until all the spices are evenly distributed throughout the flour—this mixture is what brings the bold flavor and enticing color to the coating.
Step 7: Coat the Onions
Dip each onion into the buttermilk, giving it a shake to remove any excess liquid, then dredge it in the flour-spice mixture. Shake off the extra flour and repeat the dip and dredge one more time for a thick, flavorful crust that holds up wonderfully to frying.
Step 8: Fry Until Gorgeous
Carefully lower a few onions at a time into the hot oil, placing them cut-side down. Fry for 3 to 4 minutes until the petals begin turning crispy and golden. Flip them gently and fry another 2 minutes, ensuring the entire onion is irresistibly crunchy and cooked through.
Step 9: Drain and Season
Use a slotted spoon to transfer the crisp onions onto paper towels to absorb any excess oil. While still hot, sprinkle with a pinch of salt and black pepper for an extra burst of seasoning. Serve promptly on a cooling rack or a beautiful platter with buttermilk ranch dipping sauce to complete the experience.
How to Serve Baby Bloomin’ Onions Recipe
Garnishes
The right garnishes can elevate your Baby Bloomin’ Onions Recipe to a whole new level. A sprinkle of freshly chopped parsley adds a fresh, herbal brightness that contrasts so nicely with the rich, fried onion. If you love a little heat, a dusting of smoked paprika or a drizzle of spicy aioli can make the dish pop. Don’t forget a little coarse sea salt for that perfect finishing crunch!
Side Dishes
These crispy onions shine on their own as an appetizer, but pairing them with fresh, creamy coleslaw, roasted garlic mashed potatoes, or a crisp green salad creates a balanced meal. They also work wonders alongside grilled meats or burgers, adding a delightful crunch and depth of flavor.
Creative Ways to Present
Think beyond the plate! You can place your Baby Bloomin’ Onions Recipe in a rustic basket lined with parchment for a casual, inviting presentation. For parties, serve them in mini cast iron skillets with individual dipping sauces. Layering them on a wooden board with an assortment of dips makes for an irresistible centerpiece that invites sharing and conversation.
Make Ahead and Storage
Storing Leftovers
If you have any leftover Baby Bloomin’ Onions, store them in an airtight container in the refrigerator for up to two days. To keep the crispness, place paper towels between layers to absorb moisture.
Freezing
This recipe is best enjoyed fresh, but you can freeze the un-fried coated onions on a tray for a few hours, then transfer to a freezer bag for up to one month. When ready, fry them straight from frozen for a quick indulgence.
Reheating
To bring back that irresistible crunch, reheat your Baby Bloomin’ Onions in a preheated oven at 375 degrees Fahrenheit for about 10 minutes rather than microwaving. This method revives the crisp coating without sogginess.
FAQs
Can I use a different type of onion for this recipe?
While cipollini onions are ideal for their size and sweetness, you can experiment with small sweet onions or shallots. Just be careful with slicing to maintain the bloom shape.
What is the best oil to use for frying Baby Bloomin’ Onions Recipe?
Peanut and vegetable oils are great choices because they have high smoke points, allowing for even frying and that perfect golden crust without burning.
Can I make this recipe gluten-free?
Absolutely! Substitute all-purpose flour with a gluten-free flour blend, and double-check your spices to ensure they contain no gluten. The texture may vary slightly but the flavors will still shine.
How can I make the coating extra crispy?
Double dredging each onion in the buttermilk and flour mixture creates a thicker crust that crisps up beautifully. Also, keeping the oil temperature steady at 350°F helps achieve that irresistible crunch.
What dipping sauces go well with Baby Bloomin’ Onions Recipe?
Buttermilk ranch is a classic, but you can also try spicy aioli, honey mustard, or even a tangy barbecue sauce. Each adds a delightful contrast to the crispy, savory onions.
Final Thoughts
I truly believe that once you try this Baby Bloomin’ Onions Recipe, it will become your go-to appetizer for gatherings, cozy nights, or whenever you crave something crispy and flavorful. The fun bloom presentation paired with the perfectly seasoned crunch makes eating these onions an absolute joy. So grab some cipollini onions, fire up your oil, and prepare to impress your taste buds and guests alike!
Print
Baby Bloomin’ Onions Recipe
- Prep Time: 15 minutes
- Cook Time: 10 minutes
- Total Time: 25 minutes
- Yield: 4 servings
- Category: Appetizer
- Method: Frying
- Cuisine: American
Description
Crispy and flavorful Baby Bloomin’ Onions are a delightful appetizer made by coating cipollini onions in a seasoned flour mixture, double-dredging them in buttermilk and flour, then deep-frying to golden perfection. This recipe yields irresistibly crunchy petals of sweet onion, perfect for dipping in a creamy ranch sauce.
Ingredients
Onions
- 16 cipollini onions
Batter and Coating
- 1 cup buttermilk
- 1 cup all-purpose flour
- 1 teaspoon garlic powder
- 1 teaspoon onion powder
- 1 teaspoon smoked paprika
- 1 teaspoon salt
- ½ teaspoon dry mustard
- ½ teaspoon black pepper
Frying
- Peanut or vegetable oil for frying (enough to fill pot with 2 ½ inches of oil)
Finishing
- Salt and pepper for seasoning after frying
- Buttermilk ranch dipping sauce (optional, for serving)
Instructions
- Heat Oil: Fill a tall pot with 2 ½ inches of peanut or vegetable oil and preheat it to 350°F (175°C) for frying.
- Prepare Onions: Cut off about 1/8 inch from the pointed stem end of each cipollini onion, then carefully peel the onion without removing any actual layers beneath the surface.
- Cut Onions: Place each onion cut-side up and make a cross-cut through the onion, leaving the root end intact. Continue making 12 evenly spaced cuts around each onion to create petals.
- Separate Layers: Turn the onions over and gently use your fingers to separate the outer layers, creating a bloom effect.
- Prepare Buttermilk: Pour the buttermilk into a small bowl and set aside for dipping.
- Make Flour Mixture: In a separate bowl, combine the all-purpose flour, garlic powder, onion powder, smoked paprika, salt, dry mustard, and black pepper, mixing well.
- Dredge Onions: Dip each onion into the buttermilk, shaking off excess liquid. Then coat the onion in the flour mixture, shaking off the excess. Repeat this double-coating process for a crispy crust.
- Fry Onions: Carefully drop a couple of onions at a time, cut-side down, into the hot oil. Fry for 3 to 4 minutes, then flip and fry for another 2 minutes until the onions are crisp and golden brown.
- Drain and Season: Transfer the fried onions to paper towels to drain excess oil. Season immediately with salt and pepper while still hot.
- Serve: Transfer the cooled onions to a wire rack or serving plate. Serve warm with buttermilk ranch dipping sauce for a delicious appetizer experience.
Notes
- Use cipollini onions for best results because their small size and sweet flavor make them perfect for blooming and frying.
- Ensure the oil is at the right temperature (350°F) to achieve crispy, golden onions without oil absorption.
- Double coating the onions in buttermilk and flour mixture ensures a thick, crunchy crust after frying.
- Be gentle while separating onion petals to avoid tearing.
- Serve immediately for the best texture and flavor.
- Substitute with vegetable oil if peanut oil is not available, but peanut oil has a higher smoke point ideal for frying.


