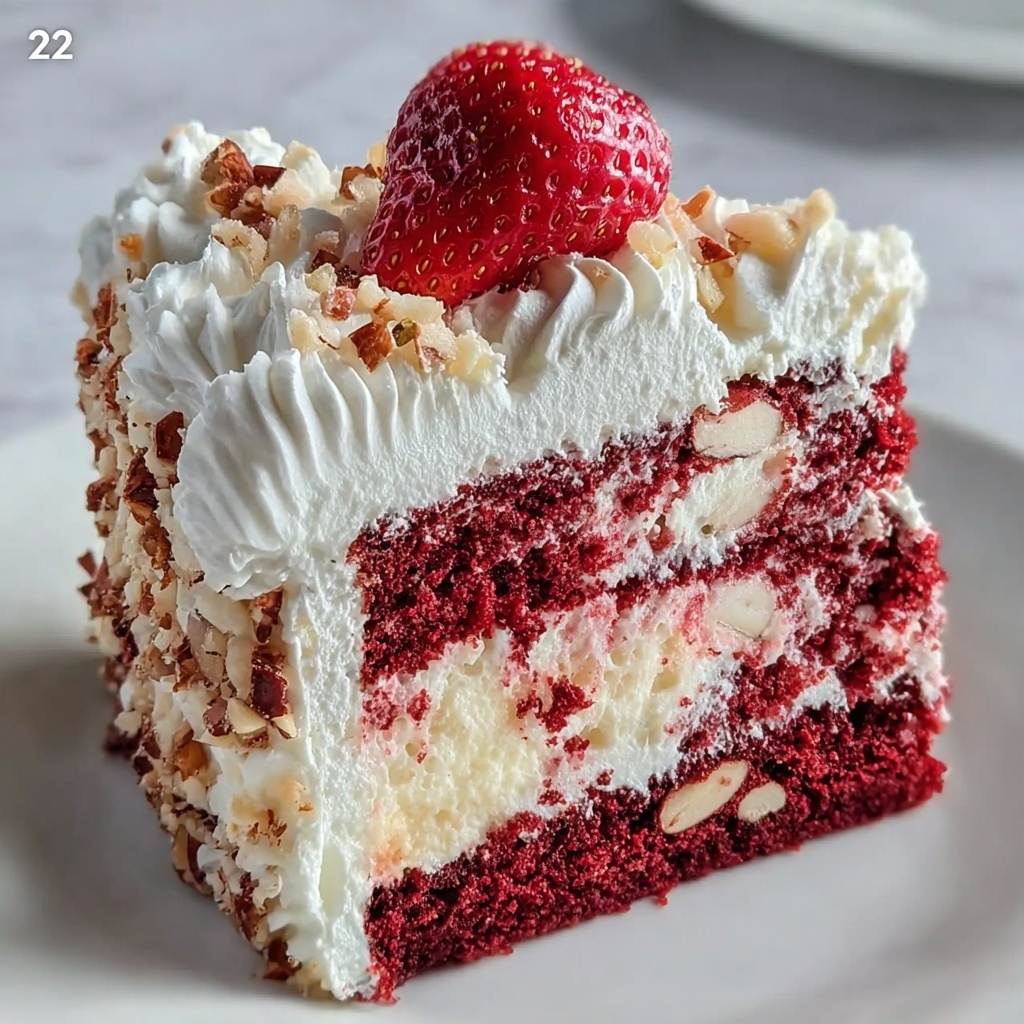
If you’re craving a dessert that’s bursting with juicy strawberries and layered textures that practically beg for seconds, then the Strawberry Earthquake Cake – Easy, Delicious, and Full of Flavor Recipe is your new best friend in the kitchen. It’s a heavenly combination of moist cake, tangy-sweet cream cheese, and a luscious strawberry surprise hidden right in the middle, topped with fluffy whipped cream and fresh berries. This recipe is as simple as it is satisfying, making it perfect for anytime you want to impress without fussing. Trust me, every forkful feels like a festive celebration of fresh fruit and creamy goodness.
Ingredients You’ll Need
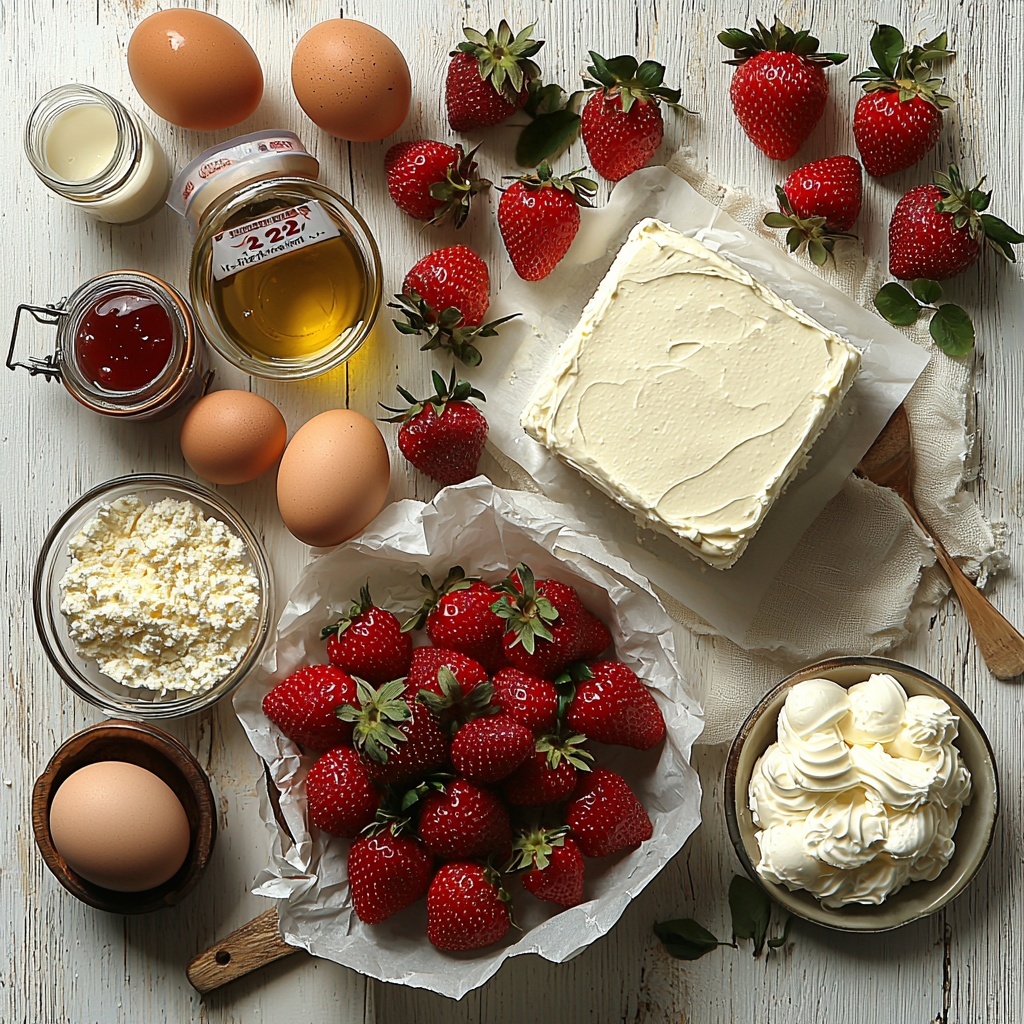
These ingredients are wonderfully straightforward, each playing a crucial role to create the perfect balance of taste, texture, and that inviting strawberry-red color that makes this cake so irresistible. From the moist and tender cake base to the rich cream cheese layer and the vibrant strawberries, every item is essential for that delightful “earthquake” effect when you slice in.
- 1 box white or yellow cake mix: The base of your cake, providing a soft and fluffy texture that pairs perfectly with the other layers.
- 1 cup sour cream: Adds moisture and a slight tang to keep the cake tender and flavorful.
- 4 large eggs: Helps bind the cake batter and contributes to structure and richness.
- 1/2 cup vegetable oil: Keeps the cake moist and tender throughout baking.
- 1 teaspoon vanilla extract (for batter): Enhances the cake’s flavor with warm, sweet notes.
- 1 (16 oz) package frozen chopped strawberries, thawed and drained: The star of the show, delivering bursts of juicy sweetness throughout the cake.
- 1 (8 oz) package cream cheese, softened: Adds a creamy, tangy layer that perfectly complements the strawberries.
- 1/4 cup granulated sugar: Sweetens the cream cheese layer just enough to balance tartness.
- 1 teaspoon vanilla extract (for cream cheese layer): Boosts flavor complexity in the cream cheese mixture.
- 1 (8 oz) tub whipped topping, thawed: Provides a light and airy finish that cools and refreshes the palate.
- Fresh strawberries for garnish (optional): Adds a beautiful and fresh look plus an extra pop of flavor on top.
How to Make Strawberry Earthquake Cake – Easy, Delicious, and Full of Flavor Recipe
Step 1: Prepare Your Batter
Start by preheating your oven to 350°F (175°C) and greasing a 9×13-inch baking pan to ensure your cake doesn’t stick. In a large bowl, combine the cake mix, sour cream, eggs, vegetable oil, and 1 teaspoon of vanilla extract. Whisk everything together until the batter is smooth and uniform, which makes for a tender final cake. This part is super quick but essential for a light, airy texture.
Step 2: Layer Like a Pro
Now, pour half of the batter evenly into your prepared pan. Then, dollop the softened cream cheese evenly over the batter—not spreading it fully but letting it create pockets of creamy deliciousness. Next, sprinkle the drained chopped strawberries over the cream cheese layer. These layers create the delightful “earthquake” effect when you cut into the cake, with strawberries bursting through the creamy middle.
Step 3: Top It Off and Bake
Carefully pour the remaining batter over the strawberry and cream cheese layer. It’s okay if some strawberries peek through—it adds to the cake’s charm. Pop the pan into your oven and bake for 45-50 minutes. You’ll know it’s done when a toothpick inserted into the cake portion comes out clean. Let the cake cool completely in the pan once it’s out of the oven; this resting time helps everything set perfectly.
Step 4: Whip and Finish
Once your cake is completely cooled, spread the thawed whipped topping evenly across the surface. It adds a dreamy, light texture that balances the rich cream cheese and vibrant fruit. If you’re feeling fancy, finish with some fresh strawberry slices on top—they make the cake look stunning and add just the right fresh bite.
How to Serve Strawberry Earthquake Cake – Easy, Delicious, and Full of Flavor Recipe
Garnishes
Fresh strawberry slices are the most classic and visually beautiful garnish you can add. You might also try a light dusting of powdered sugar or a few mint leaves for a pop of green and freshness. These little touches elevate the presentation and make every slice look too good to resist.
Side Dishes
Pairing this cake with simple sides like a scoop of vanilla ice cream or a dollop of extra whipped topping can turn it into an indulgent dessert experience. A cup of freshly brewed coffee or a light fruity tea also complements the cake’s sweet and tangy flavors beautifully.
Creative Ways to Present
Serve the cake chilled for a refreshing summer dessert or at room temperature for a more traditional flavor and texture. You can also cut it into individual parfait jars layered with extra strawberries and whipped topping for portable, adorable treats that are perfect for parties or picnics.
Make Ahead and Storage
Storing Leftovers
Leftover cake keeps wonderfully in an airtight container in the refrigerator for up to 4 days. The flavors actually meld and improve slightly after a day, so if you can wait, even better! Just be sure to keep it covered to prevent the whipped topping from drying out.
Freezing
You can freeze the cake (without the whipped topping) for up to 2 months. Wrap it tightly in plastic wrap and then aluminum foil to protect it from freezer burn. Thaw it overnight in the refrigerator before adding the whipped topping and garnishes.
Reheating
This cake is best enjoyed cold or at room temperature, so reheating isn’t usually necessary. If you prefer it warmer, gently warm a slice in the microwave for about 10 seconds, but avoid overheating to preserve the creamy layers.
FAQs
Can I use fresh strawberries instead of frozen?
Absolutely! Fresh strawberries work wonderfully, especially when they’re in season and at their sweetest. Just chop and lightly macerate them with a little sugar to bring out their juices before layering.
Is it necessary to drain the frozen strawberries?
Yes, draining is important because excess liquid from the thawed strawberries could make the cake soggy. Pat them dry gently or drain in a colander to keep your cake perfect.
Can I make this cake dairy-free?
With some substitutions, yes! Use dairy-free cream cheese, sour cream alternatives, and whipped topping to make it suitable for dairy-free diets, though texture and flavor may vary slightly.
How do I know when the cake is fully baked?
Insert a toothpick into the cake portion (avoiding cream cheese areas). If it comes out clean or with only a few moist crumbs, your cake is ready. The cream cheese layer won’t fully bake like the cake, so focus on the cake’s doneness.
Can I prepare this cake a day ahead?
Definitely! Making the cake a day in advance lets the flavors meld beautifully and makes serving easier for busy days or special occasions.
Final Thoughts
I’m genuinely thrilled to share the Strawberry Earthquake Cake – Easy, Delicious, and Full of Flavor Recipe with you because it’s one of those desserts that feels special but is surprisingly simple to pull off. Whether you’re making it for a family dinner, a party, or just a sweet treat to brighten your day, this cake will quickly become a favorite. Dive in, enjoy the juicy bursts of strawberry, creamy layers, and the sheer joy that every forkful brings. You’re going to love it as much as I do!
Print
Delicious Recipe
- Prep Time: 20 minutes
- Cook Time: 50 minutes
- Total Time: 1 hour 10 minutes
- Yield: 12 servings
- Category: Dessert
- Method: Baking
- Cuisine: American
- Diet: Vegetarian
Description
Strawberry Earthquake Cake is a delightful and easy-to-make dessert featuring a moist cake layered with softened cream cheese and juicy chopped strawberries, topped with whipped topping and fresh strawberries for garnish. This layered treat offers a perfect balance of flavors and textures, making it a favorite for any occasion.
Ingredients
Cake Batter
- 1 box white or yellow cake mix
- 1 cup sour cream
- 4 large eggs
- 1/2 cup vegetable oil
- 1 teaspoon vanilla extract
Filling and Toppings
- 1 (16 oz) package frozen chopped strawberries, thawed and drained
- 1 (8 oz) package cream cheese, softened
- 1/4 cup granulated sugar
- 1 teaspoon vanilla extract
- 1 (8 oz) tub whipped topping, thawed
- Fresh strawberries for garnish (optional)
Instructions
- Preheat and Prepare Pan: Preheat your oven to 350°F (175°C) and grease a 9×13-inch baking pan to prevent sticking.
- Make Cake Batter: In a large bowl, combine the cake mix, sour cream, eggs, vegetable oil, and 1 teaspoon vanilla extract. Mix until smooth and well incorporated.
- Layer Batter and Cream Cheese: Pour half of the cake batter into the prepared pan and spread evenly. Dollop the softened cream cheese evenly over the batter, then sprinkle with the drained chopped strawberries.
- Add Remaining Batter: Carefully pour the remaining cake batter over the top, trying to cover as much as possible, but it’s okay if some strawberries peek through.
- Bake the Cake: Bake in the preheated oven for 45-50 minutes, or until a toothpick inserted into the cake portion comes out clean.
- Cool the Cake: Remove from the oven and let the cake cool completely in the pan.
- Add Topping and Garnish: Once cooled, spread the whipped topping evenly over the cake. Garnish with fresh strawberries if desired.
- Serve: Slice the cake and serve chilled or at room temperature for the best flavor and texture.
Notes
- For extra flavor, macerate the strawberries with a tablespoon of sugar before adding to the cake.
- You can substitute fresh strawberries if they are in season for a fresher taste.
- This cake can be made a day ahead to allow the flavors to meld beautifully.


