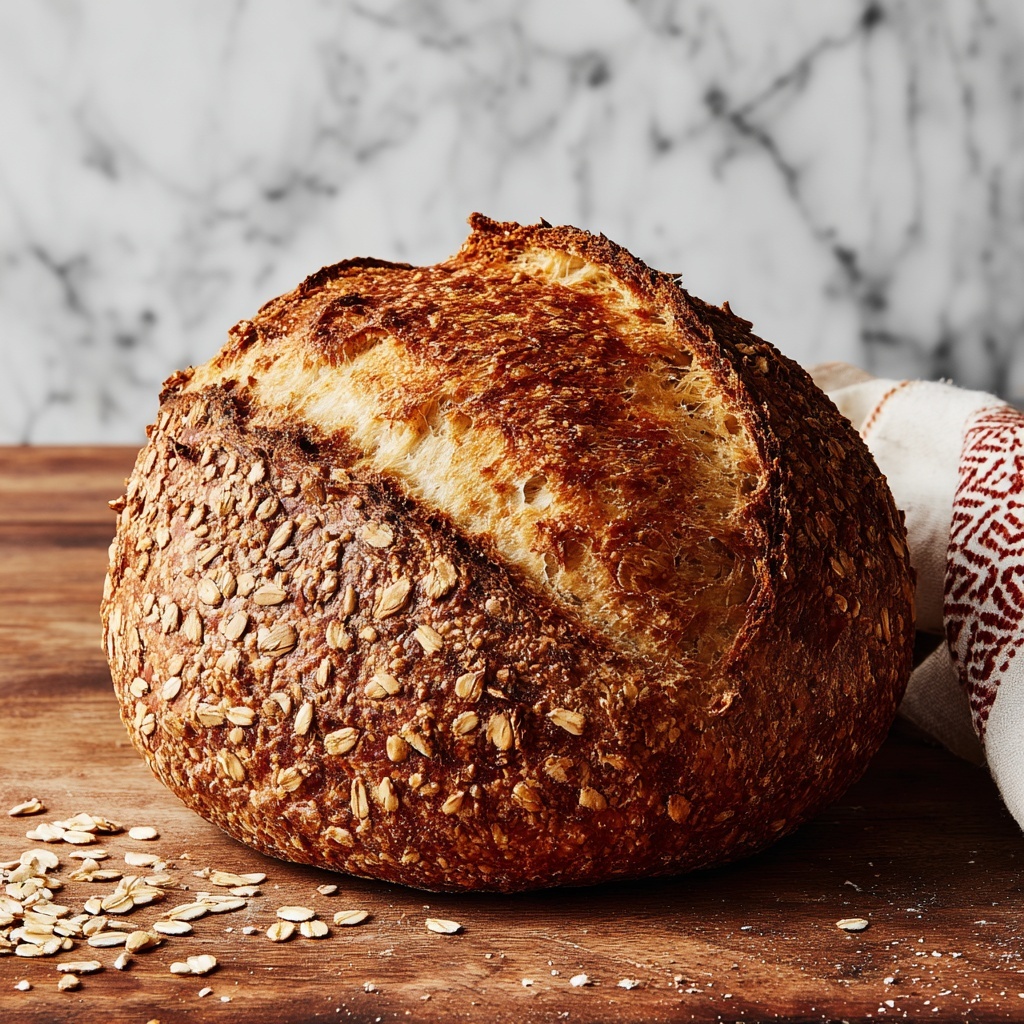
The No Knead Seeded Oat Bread Recipe is an absolute game changer for anyone dreaming of fresh, wholesome bread without the fuss of intensive kneading. This recipe effortlessly delivers a beautiful loaf packed with hearty seeds and chewy oats that add both texture and nutrition. The magic happens in the slow-rise process, making it perfect for busy days when you want to prep ahead but still enjoy that irresistible homemade flavor. Trust me, once you try this No Knead Seeded Oat Bread Recipe, you’ll never look back at store-bought bread the same way again.
Ingredients You’ll Need
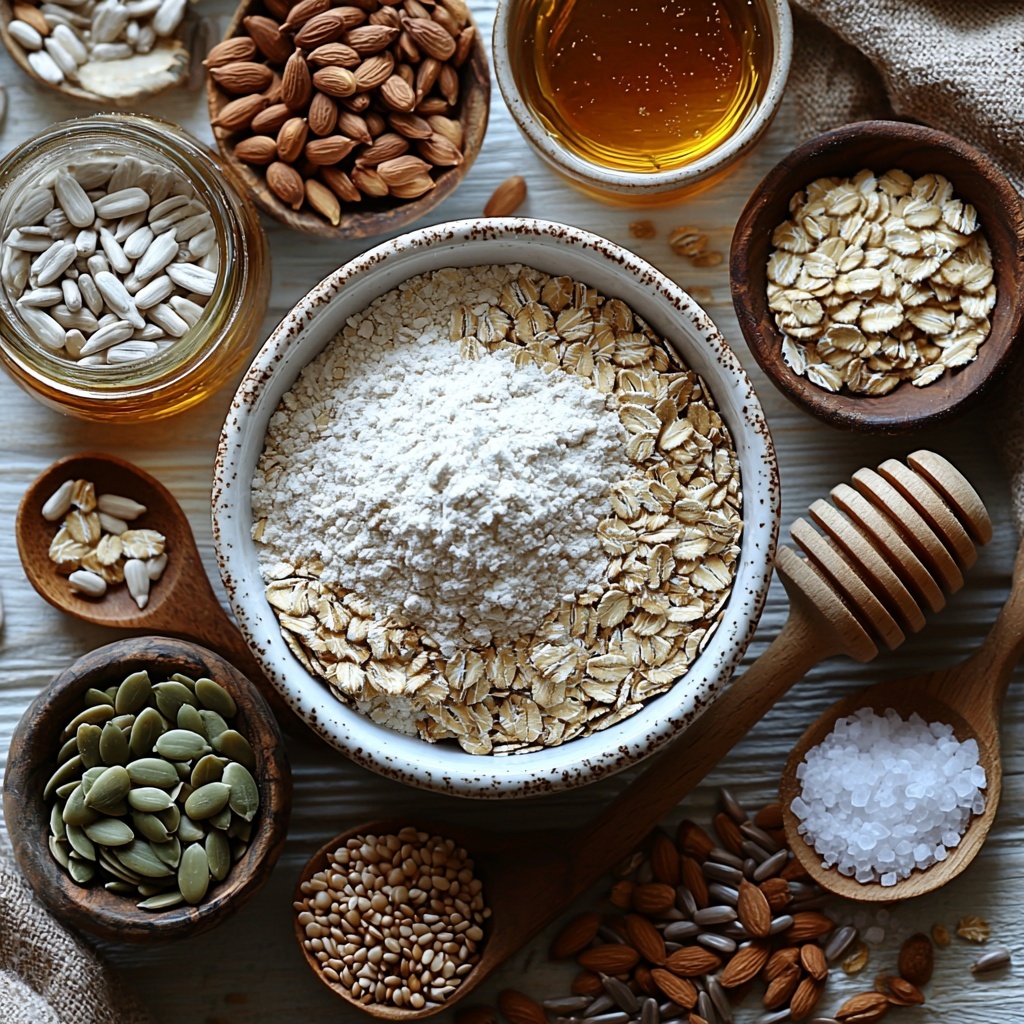
These ingredients might seem straightforward, but each one plays a starring role in creating a loaf that’s flavorful, slightly nutty, and beautifully textured. Using simple pantry staples alongside nutrient-packed seeds means you’re not just baking bread—you’re making a wholesome masterpiece.
- Bread flour (3 cups/390g): Provides the perfect gluten structure to hold the loaf together while giving a chewy crumb.
- Platinum Yeast from Red Star instant yeast (2 teaspoons): Helps the dough rise efficiently without needing extra fuss.
- Old-fashioned whole rolled oats (1 cup/85g): Adds tender chewiness and a rustic texture that’s just irresistible.
- Unsalted pumpkin seeds (1/4 cup/30g): Gives a delightful nutty crunch within the bread.
- Sunflower seeds (1/4 cup/30g): Balances the pumpkin seeds for a more complex flavor profile.
- Flax seeds or sesame seeds (2 tablespoons/18g): Boosts the nutritional profile with omega-3 fats and adds subtle earthiness.
- Coarse salt (2 teaspoons): Enhances all the flavors and controls yeast fermentation for perfect rising.
- Honey (2 tablespoons/43g): Sweetens just enough to balance the savoriness and aids in browning the crust.
- Warm water (1 1/2 cups/360ml at about 95°F/35°C): Activates the yeast and brings all ingredients together into a sticky dough.
- Optional cornmeal: For dusting your baking pan to add a subtle crunch beneath the loaf.
- Toppings mix: 1 tablespoon each of oats, pumpkin seeds, sunflower seeds, plus 1 teaspoon flax or sesame seeds for a gorgeous seeded crown.
How to Make No Knead Seeded Oat Bread Recipe
Step 1: Preparation and Visual Guide
Before diving in, take a moment to watch a video tutorial of the process if available—it’s a fantastic way to set yourself up for success. This bread is about gentle handling, so seeing it done makes all the difference!
Step 2: Mixing the Dough
Start by whisking together the bread flour and yeast in a large ungreased bowl. Add the oats and all the seeds with the salt, then whisk again. Combining honey with warm water makes the perfect liquid to pour over the dry ingredients. Use a silicone spatula or wooden spoon to gently mix everything; the dough will be shaggy and sticky, but that’s exactly what you want. Resist the urge to add too much extra flour—this stickiness is the key to a tender crumb. Use your hands if needed to fold everything together into a rough ball.
Step 3: First Rise at Room Temperature
Cover your bowl tightly with plastic wrap or foil and leave it to rise on the counter for 3 hours. You’ll notice the dough puff up and become bubbly, almost doubling in size. This patient rise lets the seeds and oats meld into the dough’s hearty flavor beautifully.
Step 4: Optional Refrigerator Rest for Flavor Boost
While you can move straight on to shaping, the flavor really shines if you pop the dough into the fridge for at least 12 hours and up to 3 days. This slow fermentation builds complex depth, making your bread taste bakery-level stunning.
Step 5: Shaping the Dough
Lightly dust a nonstick baking sheet with flour or cornmeal for that subtle gritty bottom crust. With generously floured hands, gently shape your risen dough into a ball, taking care not to deflate all those precious air bubbles. If you want to do this inside the bowl, that works perfectly too.
Step 6: Adding the Seeded Topping
Mix together your topping seeds and oats, then sprinkle them over the dough ball. Press them lightly to help them stick. Cover loosely and let the dough rest for about 45 minutes at room temperature—the final proof before baking.
Step 7: Preheating and Scoring
Preheat your oven to 425°F (218°C) during the resting period. When ready, use a sharp knife to score an X or a single slash about 1/2 inch deep on top of the loaf. Scoring helps the bread expand and creates an appealing rustic look.
Step 8: Baking with Steam for Extra Crust
Place your baking sheet on the middle rack and optionally add a shallow pan with boiling water on the bottom rack to create steam. This moist environment produces a crispy, crackly crust that’s simply divine.
Step 9: Baking Time
Bake the loaf for 40 minutes until it turns a gorgeous golden brown. If needed, tent the bread with foil to prevent over-browning. The bread is done when it sounds hollow to a light tap or reaches 195°F (90°C) internally.
Step 10: Cooling
Remove your masterpiece from the oven and let it cool for at least 10–20 minutes. This rest allows the crumb to set and makes slicing easier—plus, that aroma fills your kitchen with pure joy.
How to Serve No Knead Seeded Oat Bread Recipe
Garnishes
For a lovely finishing touch, consider spreading a pat of honey butter or soft cream cheese to complement the nutty flavors. Fresh thyme or a sprinkle of flaky sea salt also amplifies the rustic charm.
Side Dishes
This bread pairs beautifully with warm soups like butternut squash or tomato bisque, hearty stews, or a colorful salad packed with roasted veggies. The seeds and oats hold up well alongside rich dips or a creamy hummus spread, too.
Creative Ways to Present
Slice the loaf thick and toast it for a nourishing breakfast topped with avocado and a sprinkle of chili flakes. Alternatively, use the bread to make an artisan sandwich stacked with grilled vegetables, melted cheese, and fresh greens that turn a simple lunch into a treat.
Make Ahead and Storage
Storing Leftovers
Keep any leftover No Knead Seeded Oat Bread loosely wrapped at room temperature in a bread bag or paper towel-lined container to maintain a crisp crust for up to three days. Avoid airtight plastic, which softens the crust.
Freezing
Wrap the loaf tightly in plastic wrap, then foil before freezing. It freezes wonderfully for up to 3 months. To enjoy, thaw at room temperature or gently warm slices in a toaster for fresh-from-the-oven taste.
Reheating
For a revived crust and soft crumb, reheat slices in a 350°F oven for about 10 minutes or lightly toast. Avoid microwaving as it tends to make bread rubbery.
FAQs
Can I use whole wheat flour in the No Knead Seeded Oat Bread Recipe?
Absolutely! You can substitute up to half the bread flour with whole wheat for a nuttier flavor and denser texture. Just keep in mind the dough might absorb more water, so adjust hydration slightly.
Do I have to refrigerate the dough for the best results?
While you can bake right after the initial rise, refrigerating the dough for at least 12 hours greatly improves the bread’s flavor and texture thanks to slow fermentation. It’s well worth the extra time!
What if my dough is too sticky to handle?
Sticky dough is normal in this recipe. Dust your hands generously with flour and handle gently to prevent deflating. Resist the urge to add too much flour, which can dry the bread out.
Can I bake this bread in a Dutch oven instead of a baking sheet?
Yes, the Dutch oven is perfect for creating steam and a crusty exterior. Preheat the Dutch oven inside your oven, then carefully transfer the dough inside to bake covered for the first 30 minutes, uncover and bake the last 10 for a golden crust.
How long does this bread stay fresh after baking?
The No Knead Seeded Oat Bread Recipe stays fresh for up to 3 days when stored properly at room temperature and up to 10 days refrigerated—making it a great choice for weekday breakfasts or snacks.
Final Thoughts
There’s something truly special about pulling a warm loaf of homemade No Knead Seeded Oat Bread Recipe from the oven. It’s simple, nourishing, and bursting with flavor and texture that makes each slice worth savoring. I can’t encourage you enough to give this recipe a try—it’s one of those kitchen wins that feels like a cozy hug in bread form. Happy baking, my friend!
Print
No Knead Seeded Oat Bread Recipe
- Prep Time: 4 hours
- Cook Time: 40 minutes
- Total Time: 4 hours 40 minutes (excluding optional refrigeration time)
- Yield: 1 loaf; 10-12 servings
- Category: Bread
- Method: Baking
- Cuisine: American
- Diet: Vegetarian
Description
This No Knead Seeded Oat Bread is a simple yet flavorful homemade loaf packed with wholesome seeds and oats. With minimal hands-on time, this bread yields a rustic, slightly chewy crust with a tender crumb enriched by pumpkin, sunflower, and flax seeds. Perfect for breakfast or sandwiches, it requires a long rise to develop deep flavor without any kneading—just mix, rest, shape, and bake.
Ingredients
Dry Ingredients
- 3 cups (390g) bread flour (spooned & leveled), plus more as needed for shaping and pan
- 2 teaspoons (about 6g) Red Star Platinum instant yeast
- 1 cup (85g) old-fashioned whole rolled oats
- 1/4 cup (30g) unsalted pumpkin seeds (pepitas)
- 1/4 cup (30g) salted or unsalted sunflower seeds
- 2 Tablespoons (18g) flax seeds or sesame seeds
- 2 teaspoons coarse salt
Wet Ingredients
- 2 Tablespoons (43g) honey
- 1 and 1/2 cups (360ml) warm water (about 95°F / 35°C)
Topping
- 1 Tablespoon (5g) old-fashioned whole rolled oats
- 1 Tablespoon (8g) pumpkin seeds (pepitas)
- 1 Tablespoon (8g) sunflower seeds
- 1 teaspoon flax seeds or sesame seeds
Optional
- Cornmeal for dusting pan
Instructions
- Watch the video guide: Start by watching the accompanying video to understand the steps visually, ensuring better results.
- Combine dry ingredients: In a large ungreased mixing bowl, whisk together the bread flour and instant yeast. Add the oats, pumpkin seeds, sunflower seeds, flax seeds, and coarse salt, then whisk everything together thoroughly.
- Mix wet ingredients and combine: Stir the honey into the warm water, then pour this mixture over the dry ingredients. Using a silicone spatula or wooden spoon, gently mix until all flour is moistened, working with your hands as needed. The dough will be sticky and shaggy.
- First rise: Shape the dough into a ball in the bowl, cover tightly with plastic wrap or foil, and let it rise at room temperature for 3 hours until nearly doubled with visible air bubbles.
- Optional refrigeration: For better flavor and texture, refrigerate the covered dough for at least 12 hours up to 3 days. The dough will continue to puff and then deflate slightly after about 2 days.
- Prepare baking surface and shape dough: Lightly dust a large nonstick baking sheet with flour or cornmeal. With floured hands, gently shape the dough into a ball, being careful not to deflate it excessively.
- Add topping and rest: Transfer the shaped dough to the baking sheet. Mix the topping seeds and oats then sprinkle liberally on top, pressing them lightly into the dough. Cover loosely and let rest for 45 minutes.
- Preheat oven: While the dough rests, preheat your oven to 425°F (218°C).
- Score the loaf: Using a sharp knife or bread lame, score the dough with a shallow slash or an X about 1/2 inch deep. If the dough has flattened, reshape gently with floured hands.
- Place dough in oven: Put the baking sheet with dough on the center rack of the preheated oven.
- Add steam (optional): For a crispier crust, place a shallow metal pan or cast iron skillet on the bottom rack and pour 3–4 cups boiling water into it immediately after placing the bread inside. Quickly close the oven door to trap steam.
- Bake: Bake for 40 minutes until the crust is golden brown. Tent with foil if browning too fast. Test doneness by tapping the crust (should sound hollow) or using a thermometer (195°F / 90°C internal temperature).
- Cool: Remove from oven and cool on a wire rack for at least 10–20 minutes before slicing.
- Storage: Store leftover bread loosely covered at room temperature up to 3 days or refrigerate for up to 10 days.
Notes
- Using the refrigerator rest enhances flavor and texture but is optional.
- If you don’t want to use a baking sheet, you can bake this bread in a pizza stone or Dutch oven—adjust baking time accordingly.
- Steam in the oven helps develop a crispy crust but can be skipped if desired.
- Flour or cornmeal dusting on the baking surface prevents sticking and provides texture to the crust bottom.
- Use gentle pressure when handling dough to preserve the air bubbles and final texture.


