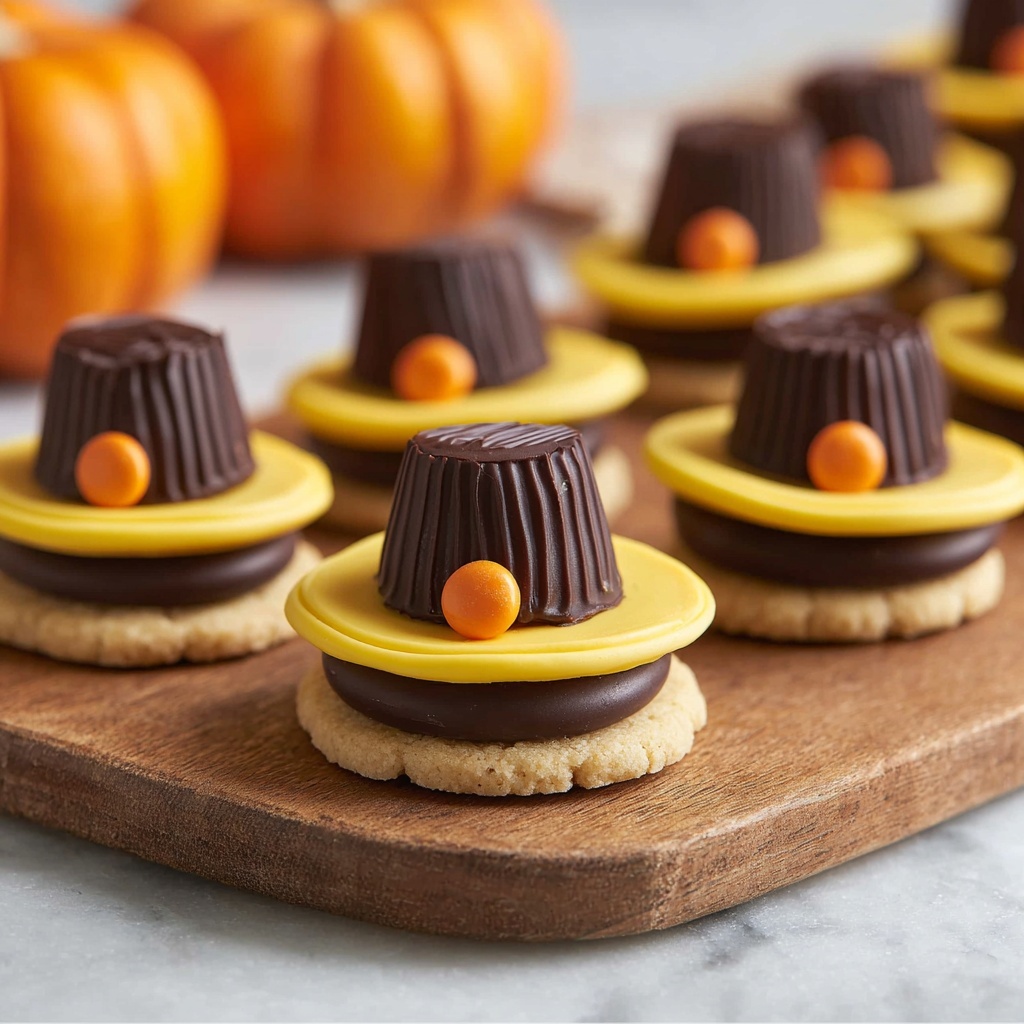
Get ready to wow your friends and family with a treat that’s as fun to make as it is delightful to eat! This No Bake Pilgrim Hat Cookies Recipe combines simple ingredients into charming little hats perfect for holiday gatherings and festive celebrations. With no oven required, you can whip up these adorable cookies in no time, making them the perfect project for a cozy afternoon or last-minute party treat. Each bite is a sweet mix of creamy chocolate, bright frosting, and a pop of candy color that’s bound to bring smiles all around.
Ingredients You’ll Need
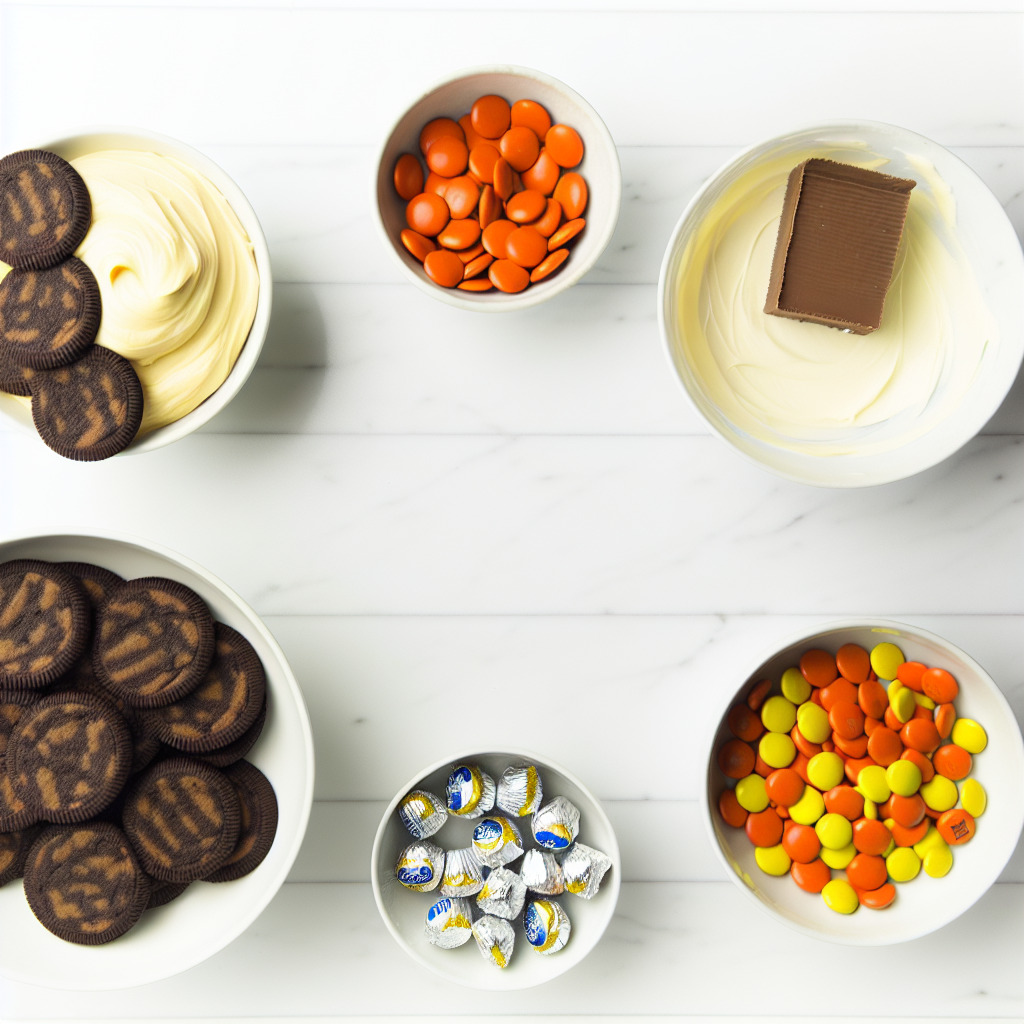
These ingredients may be few, but each one plays a crucial role in creating the perfect balance of flavor, texture, and that iconic Pilgrim hat look. Simple yet essential, they come together beautifully without any fuss.
- 12 fudge-stripe cookies: They form the sturdy base and provide a chocolatey crunch with a dash of sweetness.
- 1/3 cup yellow frosting: This adds a vibrant color that’s perfect for the hatband while acting as the glue to hold everything together.
- 12 Reese’s miniature cups, unwrapped: The star of the show — these create the top of the Pilgrim hat with their rich chocolate and peanut butter combo.
- 12 orange mini M&M’s: A tiny yet impactful pop of color that serves as the buckle on your mini hats, adding a cheerful finishing touch.
How to Make No Bake Pilgrim Hat Cookies Recipe
Step 1: Prepare Your Base
Start by lining a baking sheet with parchment paper, which makes cleanup a breeze and keeps your cookies from sticking. Place the fudge-stripe cookies in a single layer with the fudge side facing up. This fudge side is what will hold the rest of the toppings securely, so make sure each cookie is spaced comfortably apart.
Step 2: Pipe the Frosting Band
Fill a piping bag fitted with a large round tip with your yellow frosting. If you don’t have a piping bag, a small plastic bag with a corner snipped off will work just fine. Carefully pipe a dollop of frosting onto the center of each cookie. Aim for a size slightly larger than the Reese’s cup, as this frosting will not only stick the pieces together but also spill out just right to form the classic hatband texture.
Step 3: Add the Reese’s Cup Hat Top
Gently press a Reese’s miniature cup upside down onto the frosting dollop. Position it so the larger side is down against the frosting, letting the frosting seep around the edges, which will mimic the brim of the Pilgrim hat. This step is where your cookies start taking shape and looking incredibly festive.
Step 4: Place the M&M Buckle
Top the bright yellow frosting band by placing an orange mini M&M right in the center. This little candy piece adds just the right contrast and acts as the decorative buckle on your Pilgrim hats, giving each cookie charm and personality.
Step 5: Chill and Set
Pop the whole tray into the refrigerator and let the cookies chill for about 15–20 minutes. This brief rest allows the frosting to firm up and holds all the components nicely in place, making them easier to transport and eat without a mess.
How to Serve No Bake Pilgrim Hat Cookies Recipe
Garnishes
While these cookies are adorable as is, you can always sprinkle a tiny dash of edible glitter or powdered sugar on top for an extra festive flair. A few mini edible gold beads placed around the buckle area can also elevate the look, making the cookies sparkle at any Thanksgiving table.
Side Dishes
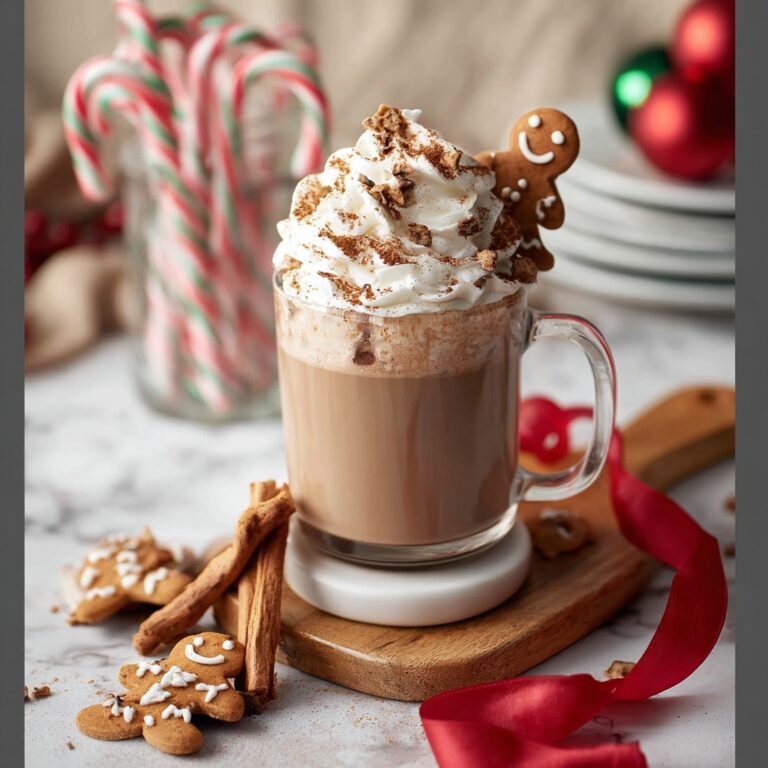
No Bake Pilgrim Hat Cookies pair wonderfully with warm drinks. Think cozy mugs of spiced apple cider, hot chocolate, or even a lightly brewed chai tea. The richness of the Reese’s cups combined with these comforting beverages makes for a cozy pairing that feels like a warm hug.
Creative Ways to Present
Present these festive treats on a rustic wooden board or a vibrant fall-themed platter. For a playful twist, serve them nestled in mini pumpkin-shaped baskets or alongside autumn leaves and small gourds. This adds a layer of seasonal charm and makes your dessert table unforgettable.
Make Ahead and Storage
Storing Leftovers
If you have any of these delightful No Bake Pilgrim Hat Cookies left over, store them in an airtight container in the refrigerator. They will stay fresh and maintain their shape for up to 3 days. Keeping them chilled ensures the frosting remains firm and the cookies retain their delightful texture.
Freezing
You can freeze these cookies if you want to prepare them in advance. Place them in a single layer on a baking sheet to freeze initially, then transfer to an airtight container or freezer bag. When wrapped well, they’ll stay delicious for up to a month. Thaw in the fridge before serving to keep that signature frosting set.
Reheating
Since these are no bake cookies with frosting and candy, reheating is not recommended. Instead, just let them come to room temperature for about 10 minutes before serving if they’ve been chilled or frozen. This will soften the frosting slightly without risking any melting mishaps.
FAQs
Can I use a different type of cookie for the base?
Absolutely! While fudge-stripe cookies are recommended for their sturdy texture and chocolaty fudge stripe, you can experiment with other cookies that have a firm base and complement chocolate flavors, such as chocolate wafer cookies or ginger snaps. Just make sure the cookie can hold the toppings well.
Is there a substitute for the yellow frosting?
If you don’t have yellow frosting on hand, use vanilla or cream cheese frosting and mix in a few drops of yellow food coloring to get that signature bright color. Alternatively, colored royal icing works beautifully and sets up nicely for a firmer hatband.
Do the cookies need to be refrigerated before serving?
Yes, refrigerating them for 15–20 minutes helps the frosting set and keeps everything securely in place. It also makes handling easier and enhances the texture, making these cookies less likely to crumble or fall apart when served.
Can I make these cookies gluten-free?
Definitely! Just swap out the fudge-stripe cookies for a gluten-free cookie with a similar shape and texture. Gluten-free brands that offer chocolate-covered or striped cookies work well as a sturdy base for these fun, no-bake hats.
What’s the best way to transport these cookies?
Use a shallow, airtight container with parchment paper layered between rows to prevent sticking. Keep the container cool during transport, especially if you’re traveling a long way, to maintain the frosting’s firmness and keep your Pilgrim hats intact and picture-perfect.
Final Thoughts
This No Bake Pilgrim Hat Cookies Recipe is a wonderful way to add charm and sweetness to your seasonal celebrations without spending hours in the kitchen. The combination of textures, colors, and flavors makes them a true crowd-pleaser, and their simplicity invites creativity and fun. Whether you’re baking alongside kids or prepping a quick dessert for guests, these cookies promise smiles, compliments, and a delicious touch of holiday spirit. Give this recipe a try and make your festive occasions extra special!
Print
No Bake Pilgrim Hat Cookies Recipe
- Prep Time: 25 minutes
- Cook Time: 0 minutes
- Total Time: 25 minutes
- Yield: 12 cookies
- Category: Dessert
- Method: No-Cook
- Cuisine: American
Description
These charming No Bake Pilgrim Hat Cookies are a festive and fun treat perfect for Thanksgiving celebrations. Combining fudge-striped cookies, creamy yellow frosting, Reese’s miniature peanut butter cups, and bright orange mini M&M’s, they come together quickly without any baking required. The frosting acts as an adhesive to create adorable edible pilgrim hats that kids and adults alike will enjoy making and eating.
Ingredients
Cookies
- 12 fudge-striped cookies
Decorations
- 1/3 cup yellow frosting
- 12 Reese’s miniature peanut butter cups, unwrapped
- 12 orange mini M&M’s
Instructions
- Prepare the base: Line a baking sheet with parchment paper. Arrange the 12 fudge-striped cookies in a single layer with the fudge stripe facing upwards to create the foundation for the pilgrim hats.
- Pipe the frosting: Fill a piping bag fitted with a large round tip with 1/3 cup of yellow frosting. Pipe a dollop of frosting slightly larger than the bottom diameter of the Reese’s peanut butter cups onto the center of each cookie. This frosting will serve as the “hatband” to hold the peanut butter cup in place.
- Attach the hats: Press a Reese’s miniature peanut butter cup upside down (with the wider side down) firmly into the frosting dollop on each cookie. Allow the frosting to spread out around the cup, mimicking a decorative hatband.
- Add the buckle: Place an orange mini M&M gently on the yellow frosting band of each hat to resemble the traditional buckle of a pilgrim’s hat.
- Set the cookies: Transfer the decorated cookies to the refrigerator and chill for 15–20 minutes. This step allows the frosting to firm up and secure all elements in place before serving.
Notes
- Make sure to use unwrapped Reese’s miniature cups for easy assembly.
- Yellow frosting can be store-bought or homemade; a buttercream frosting works well.
- Chilling helps the frosting set and prevents the hats from sliding off.
- These cookies are best enjoyed the same day but can be stored covered in the refrigerator for up to 2 days.
- For variation, substitute the orange mini M&Ms with yellow or brown candies as desired.


