
“`html
If you’re craving a delightful dessert that’s bursting with sweet, tangy cherry goodness combined with luscious cream cheese wrapped in a flaky crust, you’ve got to try this Cherry Cream Cheese Hand Pies Recipe. These little hand pies are the perfect treat—portable, irresistible, and packed with incredible flavor that feels like a warm hug in every bite.
Ingredients You’ll Need
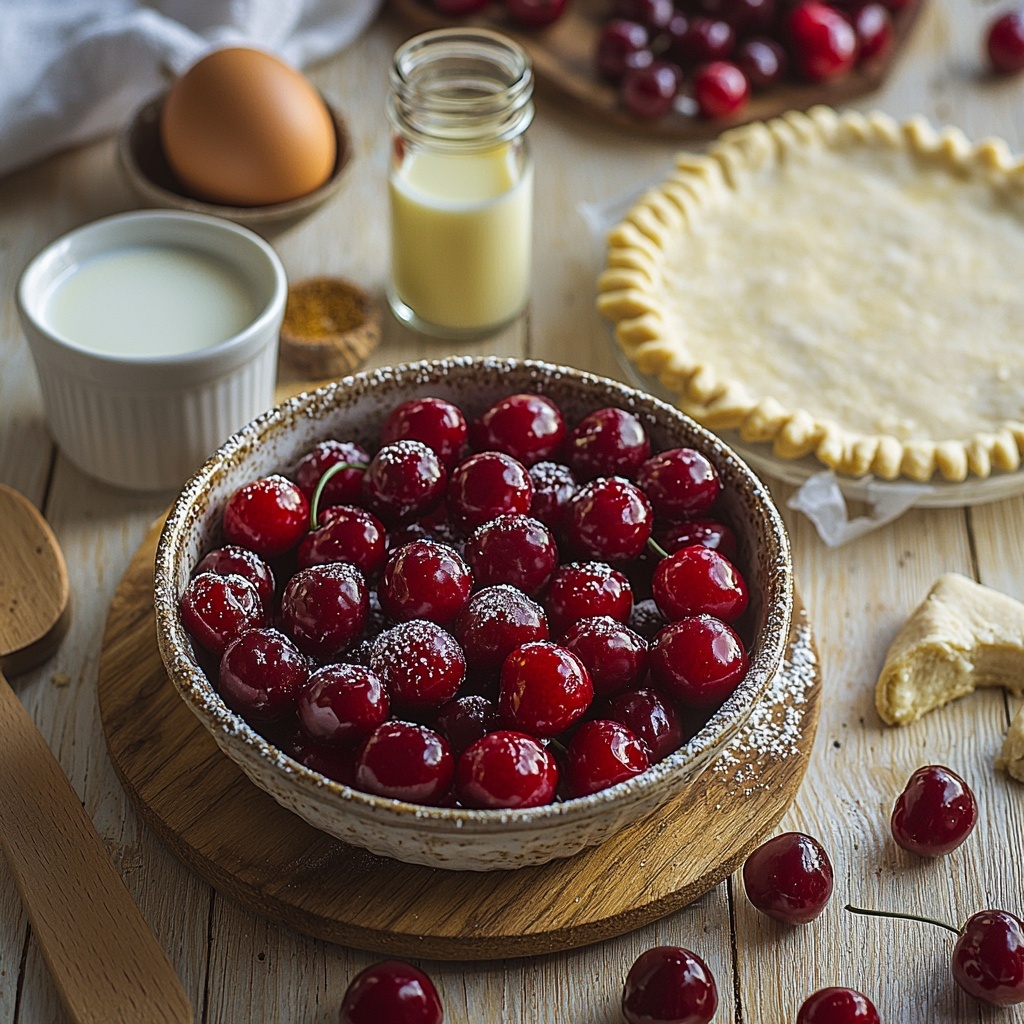
Gathering simple and essential ingredients is the first step to making these Cherry Cream Cheese Hand Pies Recipe dreams come true. Each component plays a crucial role: the cherries offer vibrant color and juicy tartness, the cream cheese adds a creamy richness, and the pie crust delivers that flaky, buttery base everyone loves.
- 1 cup cherries, pitted and halved: Fresh or thawed cherries bring natural sweetness and a pop of bright color.
- 4 oz cream cheese, softened: This adds a smooth, creamy base that balances the cherries perfectly.
- 1/2 cup sugar: Sweetens the filling to bring out the cherry’s natural tartness.
- 1 tsp vanilla extract: Enhances the flavor depth with a warm, fragrant note.
- 1 package pie crusts (2 crusts): Convenient and flaky, these form the perfect portable pie casing.
- 1 egg, beaten: Used to brush the tops for that beautiful golden finish.
- 1 tbsp milk: Combined with the egg wash to help the crust brown evenly and add a slight sheen.
How to Make Cherry Cream Cheese Hand Pies Recipe
Step 1: Preheat Your Oven
Start by setting your oven to 375°F (190°C). Getting your oven to the right temperature first ensures your hand pies become deliciously golden and perfectly baked on the outside while keeping the filling soft and luscious inside.
Step 2: Prepare the Filling
In a mixing bowl, combine the pitted and halved cherries with softened cream cheese, sugar, and vanilla extract. Stir until everything is blended into a smooth, sweet filling that perfectly balances tart and creamy flavors, ensuring every bite is packed with flavor.
Step 3: Cut Out Your Pie Crust Circles
Roll out the pie crusts on a lightly floured surface and use a round cutter or glass to cut out circles. These circles will be the canvas to your hand pies—make sure they’re large enough to hold a good spoonful of your cherry cream cheese mixture without spilling out during baking.
Step 4: Fill and Fold the Pies
Place a spoonful of the cherry and cream cheese filling onto one half of each cut-out circle. Then carefully fold the other half over to create a semicircle shape. Seal the edges firmly by pressing down with a fork—it not only secures the filling but creates those charming ridged edges every pie lover appreciates.
Step 5: Glaze and Bake
Brush the tops of your filled hand pies with a mixture of the beaten egg and milk, which will give them an irresistible golden-brown color once baked. Pop them into your preheated oven and bake for 20-25 minutes until the crust is crisp and beautifully browned. Once done, allow them to cool slightly—you’ll want to enjoy these warm but not too hot for maximum flavor.
How to Serve Cherry Cream Cheese Hand Pies Recipe
Garnishes
Enhance the charm of your Cherry Cream Cheese Hand Pies Recipe by dusting them with a light sprinkle of powdered sugar just before serving. For an extra festive touch, you can drizzle a bit of melted white chocolate or add a few whole cherries on top to highlight the fruity star of the show.
Side Dishes
These hand pies pair wonderfully with a scoop of vanilla ice cream or a dollop of freshly whipped cream, creating a delightful contrast of warm and cold sensations. If you prefer drinks, a cup of hot tea or coffee complements the sweet fruit and creamy filling beautifully.
Creative Ways to Present
For a party or special occasion, arrange the hand pies on a rustic wooden board surrounded by fresh cherries and sprigs of mint. You can also serve them alongside a small bowl of cherry sauce or cream cheese glaze for dipping—this adds a fun interactive layer to your presentation while making your Cherry Cream Cheese Hand Pies Recipe even more memorable.
Make Ahead and Storage
Storing Leftovers
If you find yourself with some leftovers (which might just disappear fast), store them in an airtight container in the refrigerator for 3-4 days. This keeps the crust from getting soggy and the filling fresh enough to enjoy anytime you want a sweet treat.
Freezing
These hand pies freeze wonderfully! Wrap each pie individually in plastic wrap and then place them in a freezer-safe bag or container. They’ll keep well for up to one month. When you’re ready to enjoy, just thaw them in the fridge overnight.
Reheating
To reheat, place your hand pies on a baking sheet and warm them in a 350°F oven for 10-15 minutes until heated through and crisp again. Avoid microwaving as it can make the crust tough or soggy—oven reheating keeps that flaky texture intact.
FAQs
Can I use frozen cherries in this recipe?
Absolutely! Just be sure to thaw and drain any excess liquid from the cherries before mixing, so your filling doesn’t become watery and the crust stays nice and flaky.
Is it possible to make these hand pies gluten-free?
Yes! Swap the regular pie crust for a gluten-free pie crust available at most grocery stores or make your own from a gluten-free flour blend. The filling remains the same and is naturally gluten-free.
Can I prepare the filling a day in advance?
Definitely. Making the filling ahead lets the flavors meld beautifully. Just keep it covered in the fridge and assemble the hand pies right before baking to keep the crust fresh and flaky.
How do I prevent my hand pies from leaking during baking?
Sealing the edges firmly with a fork and not overfilling each pie are key tips. If you have trouble sealing, try brushing the edges with a bit of water or beaten egg before folding to help them stick together better.
Can I substitute cream cheese with something else?
Cream cheese gives these hand pies their signature creamy tang, but you can try ricotta or mascarpone for a slightly different texture and flavor. Just keep the quantity the same to maintain the right balance in the filling.
Final Thoughts
You’re going to fall in love with how effortlessly delicious these Cherry Cream Cheese Hand Pies Recipe come together and how wonderfully satisfying they taste. Whether for a cozy snack, a dessert at your next gathering, or simply a way to brighten your day, these hand pies are a little slice of happiness you deserve to savor. Give them a try and watch them become an instant favorite!
“`
Print
Cherry Cream Cheese Hand Pies Recipe
- Prep Time: 15 minutes
- Cook Time: 25 minutes
- Total Time: 40 minutes
- Yield: 8 servings
- Category: Dessert
- Method: Baking
- Cuisine: American
- Diet: Vegetarian
Description
Delight in these Cherry Cream Cheese Hand Pies, a perfect blend of tart cherries and creamy cheese nestled in flaky pie crust. These handheld treats are ideal for dessert or a sweet snack, offering a luscious filling wrapped in golden, buttery pastry baked to perfection.
Ingredients
Filling
- 1 cup cherries, pitted and halved
- 4 oz cream cheese, softened
- 1/2 cup sugar
- 1 tsp vanilla extract
Crust and Topping
- 1 package pie crusts (2 crusts)
- 1 egg, beaten
- 1 tbsp milk
Instructions
- Preheat Oven: Preheat your oven to 375°F (190°C) to ensure it reaches the perfect baking temperature while you prepare the pies.
- Prepare Filling: In a mixing bowl, combine the pitted and halved cherries with softened cream cheese, sugar, and vanilla extract. Mix until the ingredients are well incorporated to create a creamy, fruity filling.
- Prepare Pie Crust: Roll out the pie crusts on a lightly floured surface and use a round cutter to cut into circles of desired size for hand pies.
- Fill & Seal: Place a spoonful of the cherry cream cheese mixture on one half of each circle. Fold the other half over the filling and press the edges firmly together using a fork to seal the pies properly.
- Apply Egg Wash and Bake: Brush the tops of the hand pies with the beaten egg mixed with milk, which will give them a beautiful golden brown finish. Bake in the preheated oven for 20-25 minutes until the crust is golden and cooked through.
- Cool and Serve: Remove the pies from the oven and allow them to cool before serving to let the filling set slightly, enhancing the flavor and texture.
Notes
- Ensure cream cheese is softened to room temperature for easy mixing.
- Brush the egg wash gently to avoid piercing the crust.
- Allow the pies to cool on a wire rack to keep the crust crisp.
- These hand pies can be stored in an airtight container for up to 3 days at room temperature or refrigerated for up to a week.
- For added texture, consider sprinkling a little sugar on top before baking.


