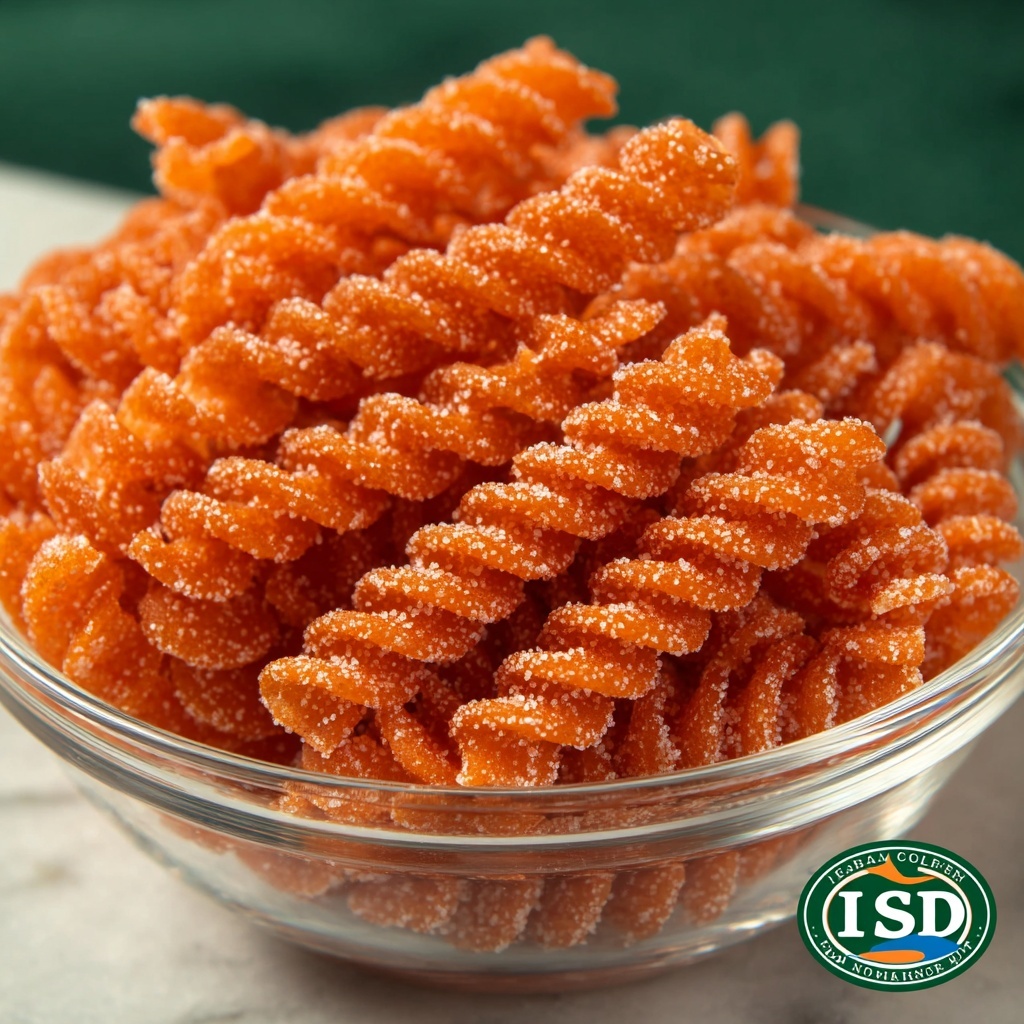
If you love a snack that’s crispy, cheesy, and downright addictive, then this Cheese Straws Recipe is just the treat you’ve been waiting for. These golden, twisted delights combine sharp cheddar cheese with a delicate, buttery dough, creating a perfect balance of savory flavors and irresistible crunch. Whether you’re serving them at a party or nibbling away during a cozy night in, these cheese straws will quickly become your go-to snack for any occasion.
Ingredients You’ll Need
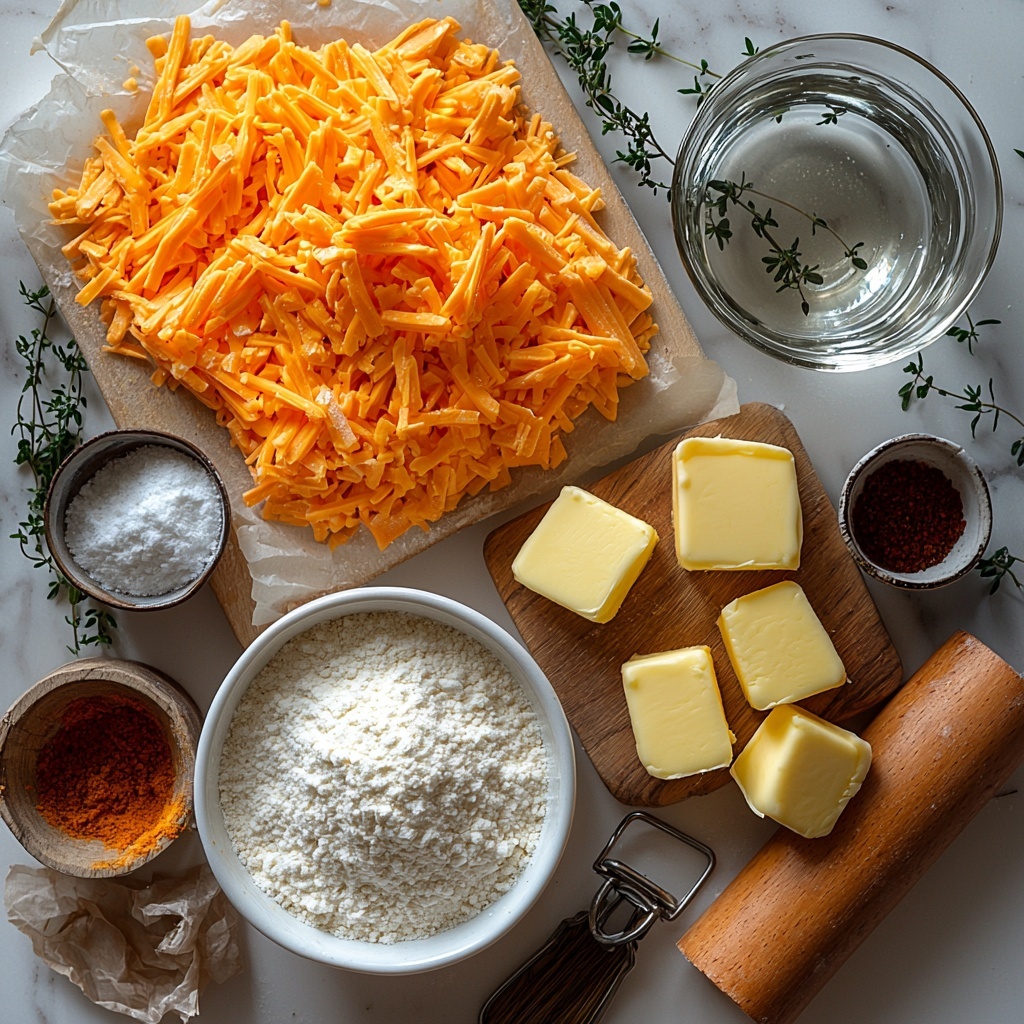
The beauty of this Cheese Straws Recipe lies in its simplicity. Each ingredient is carefully chosen to build layers of flavor and texture without any fuss, making this an accessible recipe even for beginners. From sharp cheddar to a pinch of cayenne, every element plays its part in creating those perfect crispy twists.
- 1 1/2 cups sharp cheddar cheese, grated: Use good quality cheddar for the best, bold cheese flavor that shines through.
- 1 cup all-purpose flour: This provides the structure that holds your cheese straws together while keeping them light.
- 1/2 cup cold butter, cubed: Cold butter creates those flaky layers, crucial for a delicate, crispy texture.
- 1 tsp baking powder: Helps the dough rise just a bit for a tender bite without puffing up too much.
- 1/2 tsp salt: Enhances all the flavors and balances the cheese’s sharpness.
- 1/4 tsp cayenne pepper (optional): Just a hint to add subtle warmth and a gentle kick.
- Ice-cold water (as needed): Brings the dough together without melting the butter, keeping it flaky.
How to Make Cheese Straws Recipe
Step 1: Preheat the Oven
Set your oven to 350°F (175°C) and prepare a baking sheet by lining it with parchment paper. This simple step ensures your cheese straws bake evenly and don’t stick, making cleanup a breeze.
Step 2: Prepare the Dough Ingredients
In a large mixing bowl, combine the grated sharp cheddar cheese, flour, baking powder, salt, and optional cayenne pepper. Getting these dry ingredients well-mixed first is key for even distribution of flavors, so every bite is consistently delicious.
Step 3: Cut in the Butter
Next, add the cold, cubed butter. Use a pastry cutter or your fingers to mix the butter into the dry ingredients until it looks like coarse crumbs. This technique creates the perfect texture for tender, flaky cheese straws—all those little butter bits bake into crispy layers.
Step 4: Add Ice-Cold Water
Slowly add ice-cold water, one tablespoon at a time, mixing gently until the dough just comes together. Be careful not to add too much or overwork the dough—this keeps your cheese straws light and prevents them from becoming tough.
Step 5: Roll and Cut the Dough
Roll your dough out on a lightly floured surface until it’s about 1/8-inch thick. Then, cut it into strips roughly 1/2 inch wide and 4–5 inches long. These dimensions give just the right crispy snap and make them perfect for holding in your hand as you munch.
Step 6: Shape and Bake
Twist each strip into a spiral shape and arrange them on the prepared baking sheet. Bake for 12 to 15 minutes, or until the cheese straws turn a beautiful golden color and crisp up nicely. The twisting not only looks impressive but helps them bake evenly for that perfect crunch.
Step 7: Cool Before Serving
Once baked, transfer your cheese straws to a wire rack to cool. This step is essential because it lets them firm up to that ideal crispy texture without steaming or getting soggy.
How to Serve Cheese Straws Recipe
Garnishes
Cheese straws are delicious on their own, but a light dusting of smoked paprika or finely chopped fresh herbs like rosemary or thyme can add a fresh twist. For a bit of extra indulgence, sprinkle some extra grated cheddar on top right before baking.
Side Dishes
These crunchy cheese straws pair wonderfully with creamy dips like ranch or a tangy tomato salsa. They also make a fantastic accompaniment to soups and salads, adding a flavorful crunch that elevates any meal.
Creative Ways to Present
For parties, arrange them standing upright in a decorative jar or glass for a charming snack display. You can even sprinkle some crushed nuts or black sesame seeds on the dough before baking to add extra texture and visual appeal.
Make Ahead and Storage
Storing Leftovers
If you have any leftover cheese straws, store them in an airtight container at room temperature. They will stay crispy and delicious for 3-4 days—perfect for enjoying throughout the week without losing that lovely crunch.
Freezing
You can freeze unbaked cheese straw dough by wrapping it tightly in plastic wrap and placing it in a freezer-safe bag. When you’re ready to bake, thaw it overnight in the fridge, then roll, cut, and bake as usual. This makes future snacking easy and convenient!
Reheating
To revive refrigerated or leftover cheese straws, pop them in a preheated oven at 300°F (150°C) for a few minutes until warm and crisp again. Avoid microwaving, which can make them soft and lose their appealing crunch.
FAQs
Can I use a different cheese for this Cheese Straws Recipe?
Absolutely! While sharp cheddar gives a classic flavor, you can experiment with other cheeses like Parmesan, Gruyere, or even a smoky cheddar. Just keep in mind some cheeses might alter the texture and saltiness.
Why is the butter cold when making the dough?
Cold butter is essential because it creates pockets of flaky layers as it melts during baking. If the butter warms up too much, the dough becomes tougher and less airy.
Can I make these cheese straws vegan or dairy-free?
You could try substituting vegan butter and a plant-based cheese alternative, but results might differ in texture and flavor. Experimentation is key if you’re adapting to dietary needs!
How do I prevent cheese straws from spreading too much while baking?
Chilling the dough before rolling and cutting can help. Also, make sure your butter stays cold during mixing, and don’t roll the dough too thin to maintain the shape and crispness.
Are cheese straws suitable for freezing after baking?
They are best frozen as unbaked dough for maintaining freshness and texture. Freezing baked cheese straws can make them lose some crispness after thawing and reheating.
Final Thoughts
There is something so satisfying about homemade cheese straws—the perfect blend of cheesy richness and that addictive crispy bite. This Cheese Straws Recipe is a wonderful way to treat yourself and your loved ones to a snack that’s simple yet impressively delicious. Give it a go and watch these little twists disappear fast from your kitchen!
Print
Cheese Straws Recipe
- Prep Time: 15 minutes
- Cook Time: 15 minutes
- Total Time: 30 minutes
- Yield: 12 servings
- Category: Snacks
- Method: Baking
- Cuisine: American
- Diet: Vegetarian
Description
Cheese Straws are crispy, cheesy snack strips made with sharp cheddar cheese and a hint of cayenne pepper for a subtle kick. Perfectly baked until golden and crisp, these savory treats are ideal for parties, snack time, or pairing with dips.
Ingredients
For the Cheese Straws:
- 1 1/2 cups sharp cheddar cheese, grated
- 1 cup all-purpose flour
- 1/2 cup cold butter, cubed
- 1 tsp baking powder
- 1/2 tsp salt
- 1/4 tsp cayenne pepper (optional)
- Ice-cold water (as needed, about 2-3 tablespoons)
Instructions
- Preheat the Oven: Preheat your oven to 350°F (175°C) and line a baking sheet with parchment paper to prevent sticking and ensure even baking.
- Prepare the Dough: In a large bowl, combine the grated sharp cheddar cheese, all-purpose flour, baking powder, salt, and cayenne pepper if using. Mix the dry ingredients thoroughly.
- Cut in the Butter: Add the cold, cubed butter into the mixture. Using a pastry cutter or your fingertips, work the butter into the dry ingredients until the mixture looks like coarse crumbs. This creates a flaky, tender texture.
- Add Water: Gradually add ice-cold water one tablespoon at a time, mixing gently until the dough just comes together. Avoid adding too much water to keep the dough firm and workable.
- Roll and Cut: On a lightly floured surface, roll the dough out to approximately 1/8-inch thickness. Use a knife or pizza cutter to slice the dough into strips about 1/2 inch wide and 4 to 5 inches long.
- Shape and Bake: Twist each strip gently into a spiral shape and place them spaced evenly on the prepared baking sheet. Bake for 12 to 15 minutes or until the cheese straws turn golden brown and crispy.
- Cool: Remove the cheese straws from the oven and transfer them to a wire rack to cool completely. Cooling helps them firm up and become crispier before serving.
Notes
- Use sharp cheddar for the best cheesy flavor; you can experiment with other hard cheeses like Parmesan or Gruyere for different tastes.
- The cayenne pepper is optional but adds a nice subtle heat; adjust to your preference or omit if serving to children.
- Keep the butter cold to ensure flakiness in the dough.
- Store cheese straws in an airtight container at room temperature for up to 3 days to maintain crispness.
- For a gluten-free version, substitute the all-purpose flour with a gluten-free flour blend.


